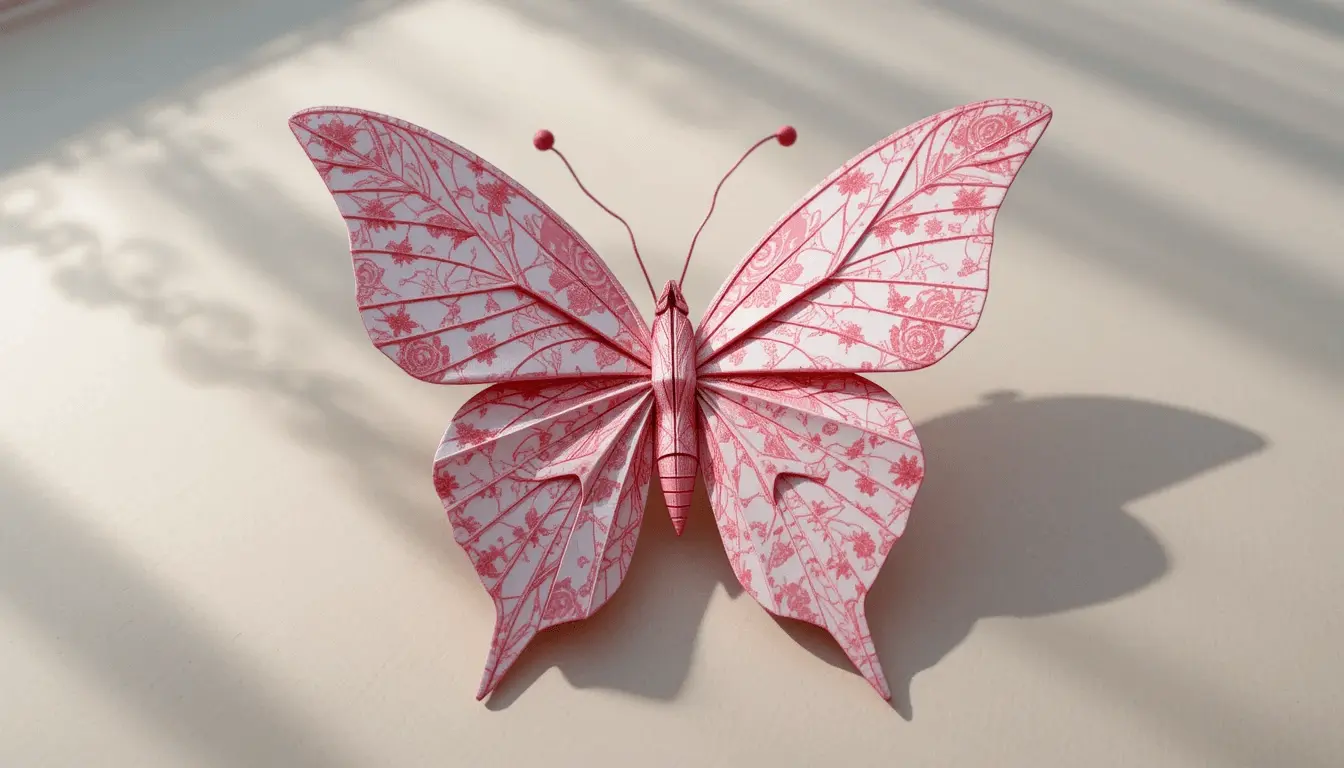
How to Make a Beautiful Butterfly Origami – Step-by-Step Paper Craft Tutorial
Welcome to Our Easy Butterfly Origami Tutorial!
If you love DIY paper crafts, this project is perfect for you. In just a few simple steps, you’ll create a beautiful butterfly origami—great for kids, adults, or anyone who enjoys creative hobbies. Let’s begin!
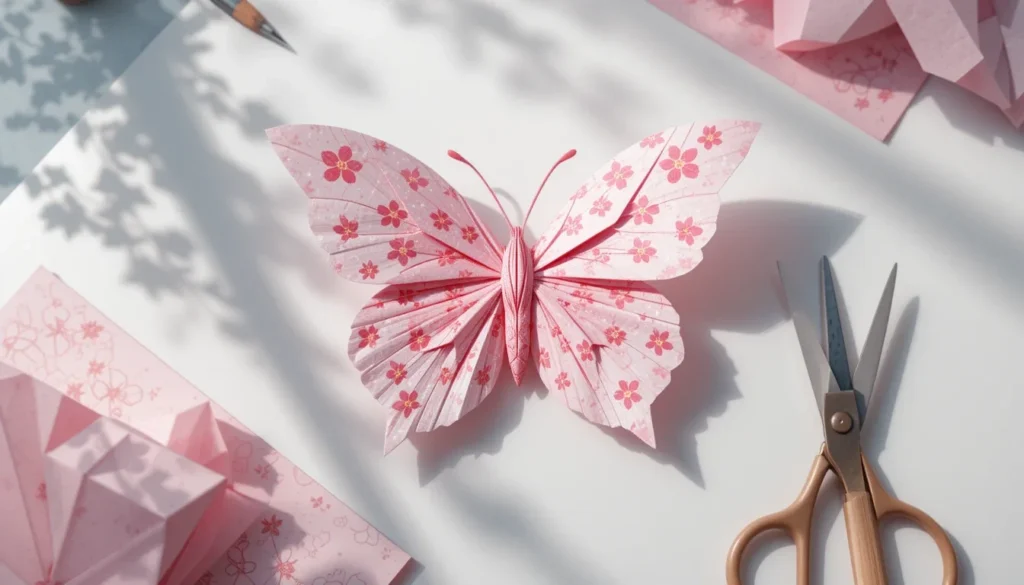
✂️ Materials You’ll Need
To create your butterfly origami, gather the following supplies:
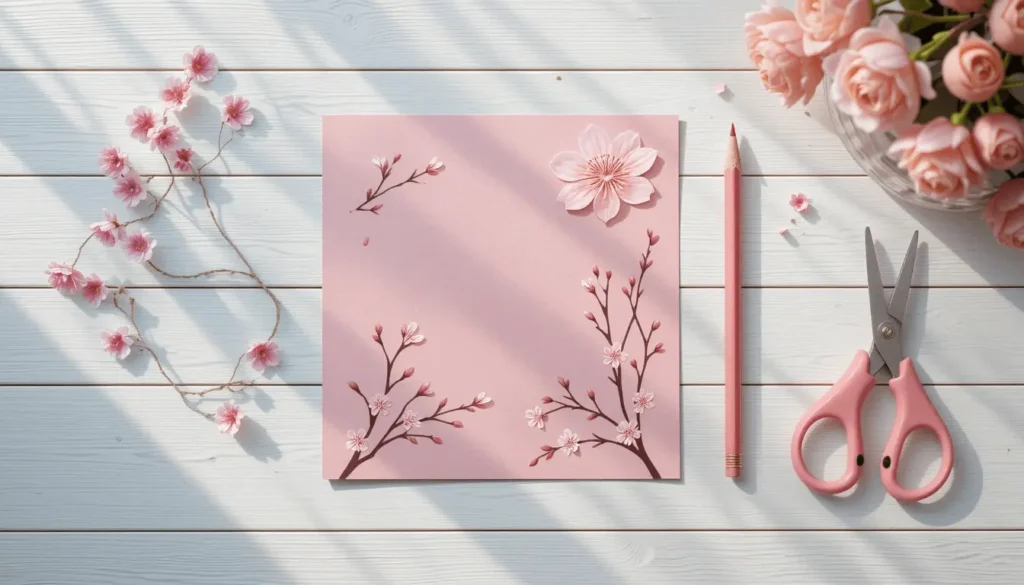
- 1 square piece of paper (we used pink with a cherry blossom design)
- A pencil (for sketching guidelines)
- Scissors
✅ Tip: Origami paper is best, but any square paper will work.
📐 Step-by-Step Folding Instructions
Let’s create our base folds:
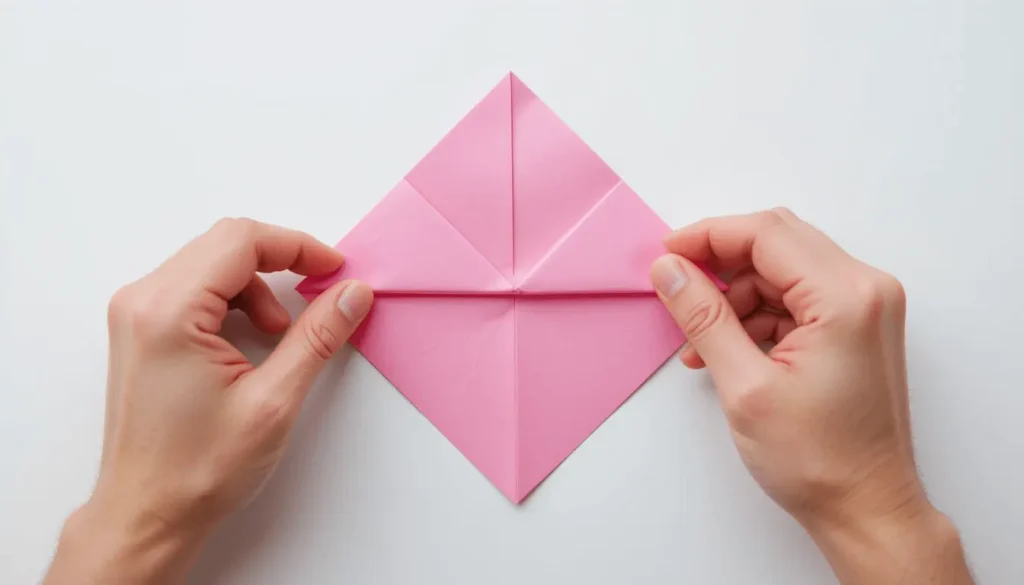
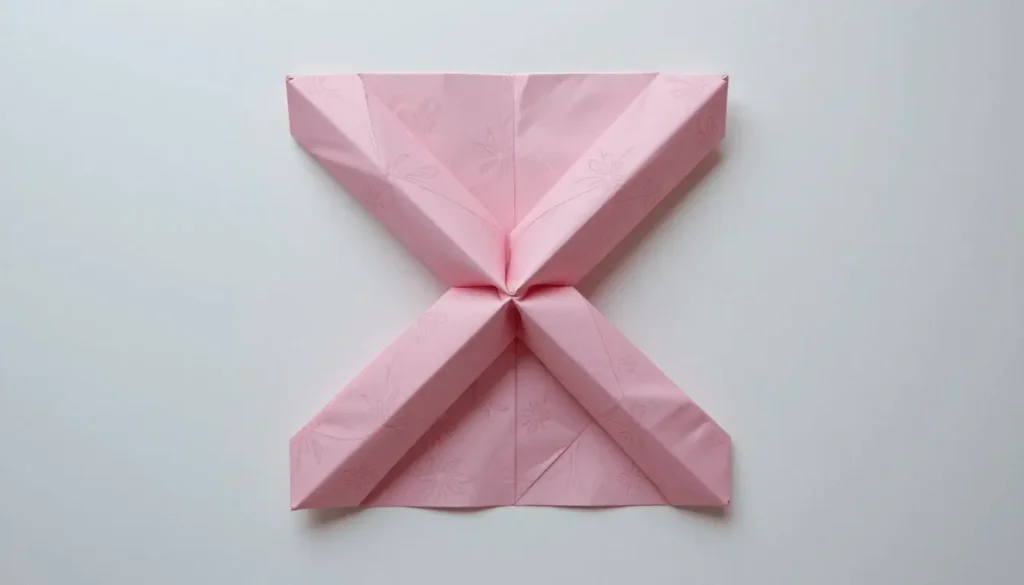
- Fold the paper diagonally corner-to-corner to form a triangle. Press firmly.
- Unfold, then fold diagonally the other way. This creates an “X” of creases.
- Fold the paper in half vertically, then horizontally, to create a plus sign “+”.
These intersecting creases serve as a guide for symmetrical folds.
✏️ Cutting Out the Butterfly Shape
Now it’s time to shape the butterfly:
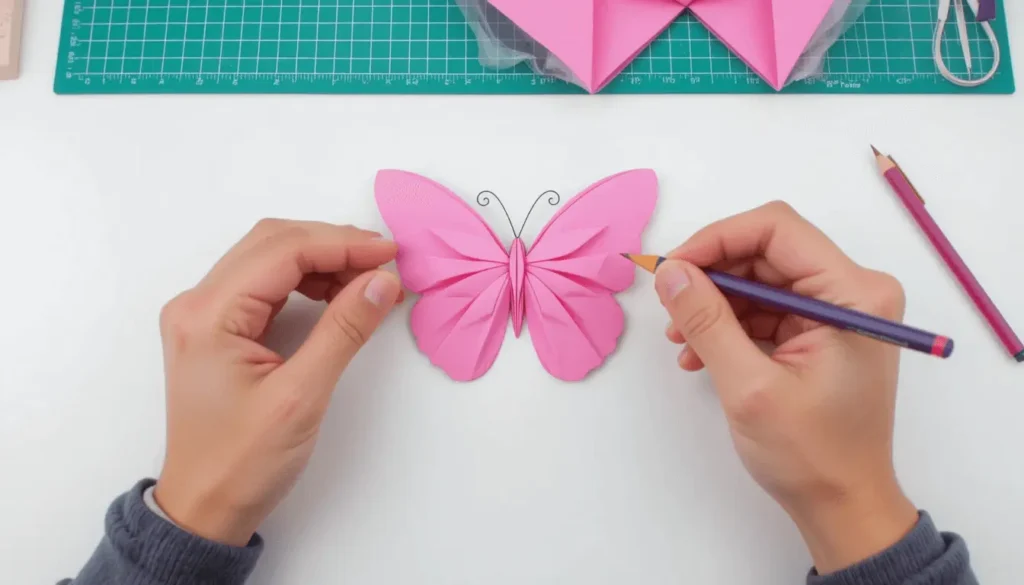
- Use a pencil to lightly sketch a butterfly outline on the folded paper.
- Carefully cut along the outline using scissors. Keep your curves smooth for a natural look.
🦋 Assembling the Butterfly
Once cut, gently unfold the paper and admire your butterfly:
- Spread the wings slightly to add dimension.
- If desired, attach a string or thin wire to the back so it can hang or stand upright.
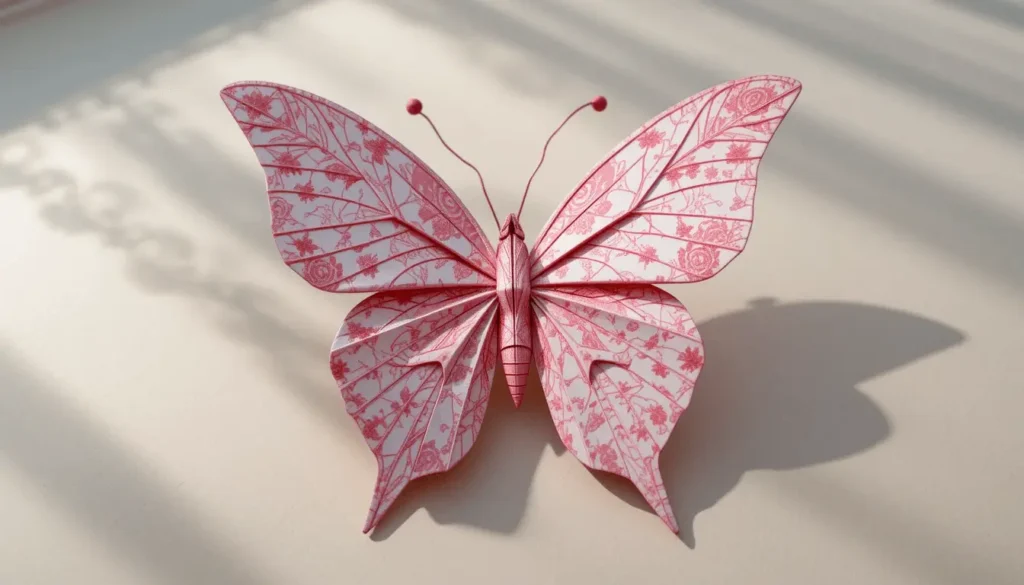
You now have your very own fluttering paper butterfly!
🎨 Why You’ll Love This Butterfly Origami
This project is:
- Fun for all ages
- Perfect for spring/summer decorations
- A relaxing, screen-free creative break
- Customizable with different colors & patterns
Try using metallic paper for a more luxurious look, or make a whole group for a mobile or hanging art piece.
🙌 Final Thoughts
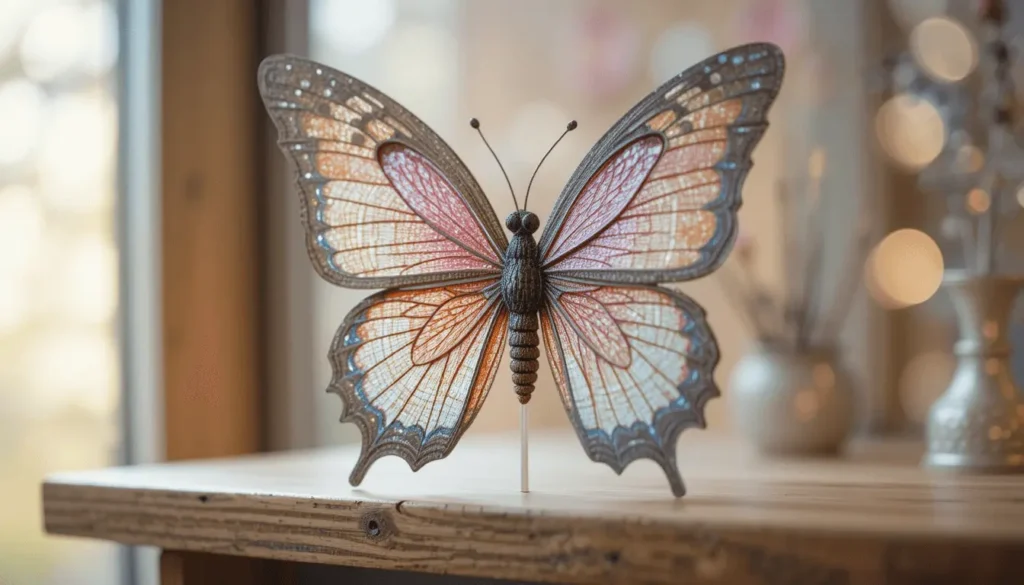
And there you have it! Your very own butterfly origami masterpiece—simple, elegant, and handmade. Whether you’re decorating your space or crafting with kids, this paper butterfly adds a whimsical touch.
Share your creation on social media, or save this tutorial to Pinterest for later.
Happy crafting, and thanks for joining us! 🎉

