Hello! Crafters, Today I gonna show you to make glass etching an ornament and glass block two different and easy project with the help of chalk couture transfers & Armour etching cream.This two project glass etching and glass block are my best gift to the crafter to DIY in your home.This project is very cheap you can make this project only in $5 to $15.Before starting my project I will give you some most important tips and instructor about your project.So please wear a glove before starting your project.I also post my whole project video at the end of this article.


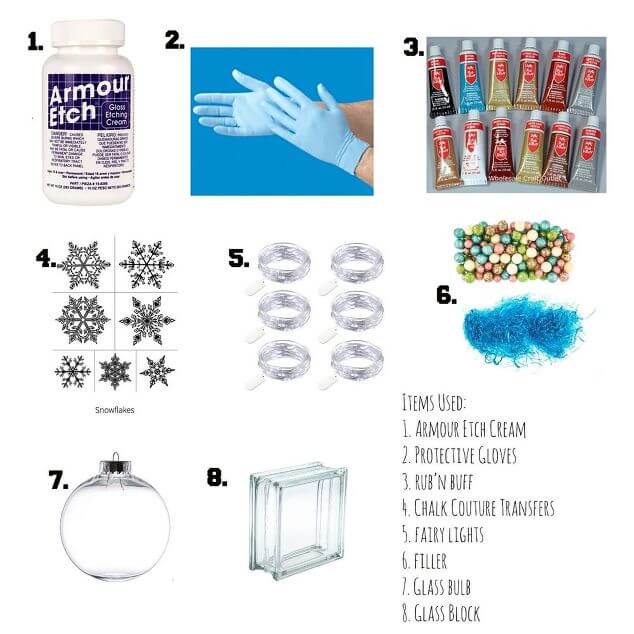
Materials I used for this project:
- Filler Balls
- Glass Ornaments
- Armour Etch Cream, 10-Ounce
- Rub N Buff Wax Metallic Finishes 12 Color Sampler Set
- Gdealer 6 Pack Fairy String Lights
- Blue Shredded filler
- Glass Block


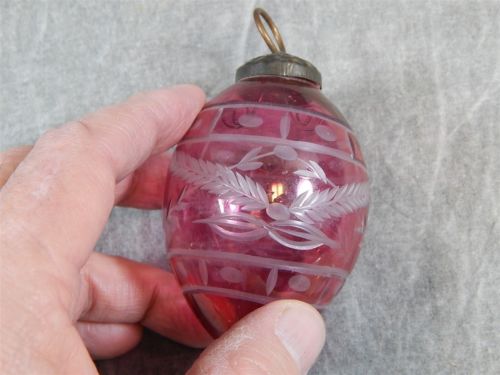
Ornament of the project

First of all press the glass ornament so that will sure you that in screen there is no bubble to do that it helped the edges.
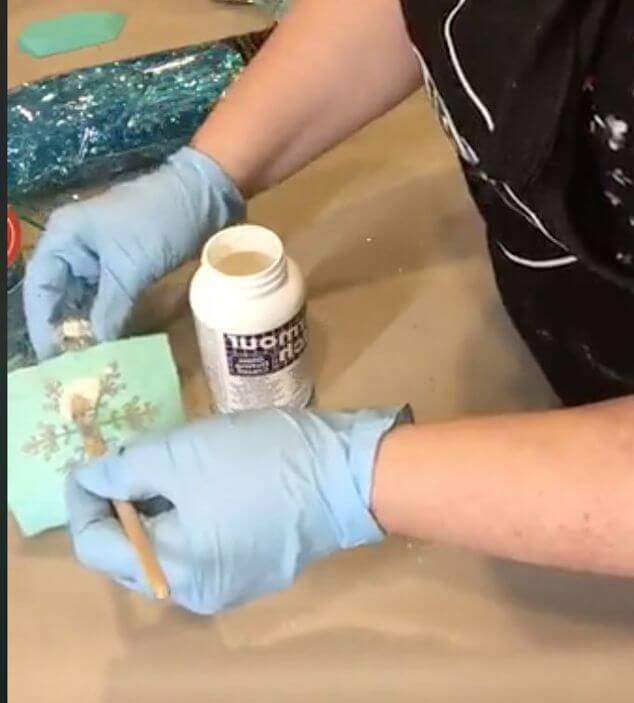

Second step: Wear gloves and then create a thin etching cream layer than wait 5 to 10 mints that will sure you that covering the screen.
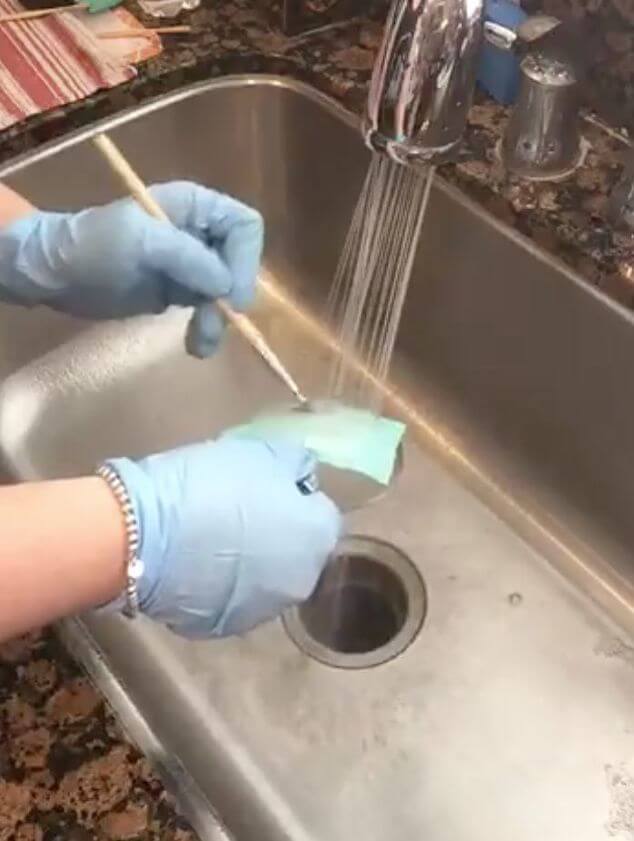
Third step: After cream dries now wash the ornament to clear the etching cream you can wash it everywhere you like in my case I will wash these to sink.after washing the ornament now once again dry the ornament to sure that there is no cream on the ornament.

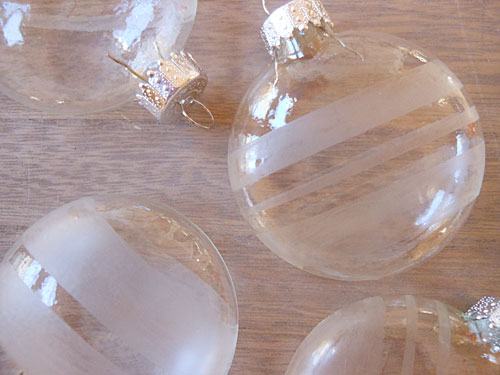
Fourth step: Rub the stuff ornament on filler to all area with your own choice of color but I use Rub’n buff color to sure that’s polished with clean and soft cloth


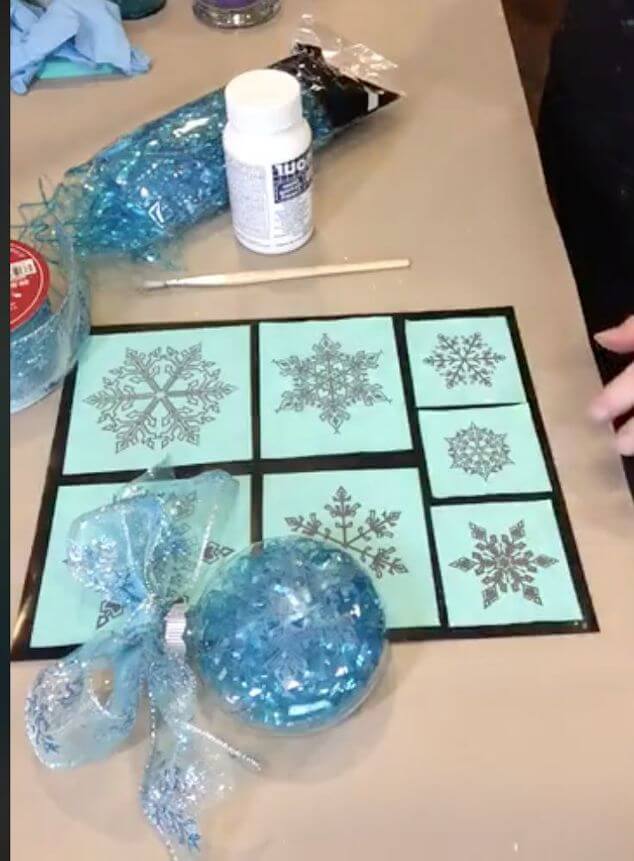
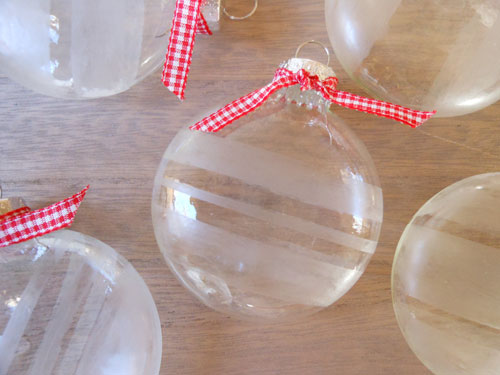
Fifth step: At the top of ornament create a tie bow.


That all about ornament we finished our ornament project.


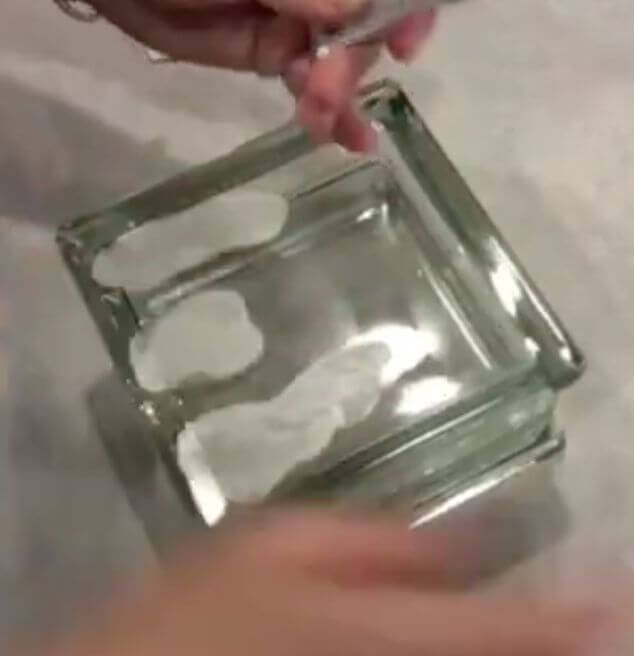
First step: In the outside of the block you can ad the transfers where you want to etch.


Second step: First of all wear the gloves before starting the project than create a thin layer with the help of etching cream on the screen transfer to sure that.Then wait for 5 to 10 mints for dry the cream.

Third Step: Wash the block to rinse etching cream off with your own wish but for me wash it in a sink.After washing than wait for block dry.

Fourth step: Now Rub the block to the Rub’n buff color with your own choice of color at each area of the block you like to color.After coloring the block you polish it and then buff the block.

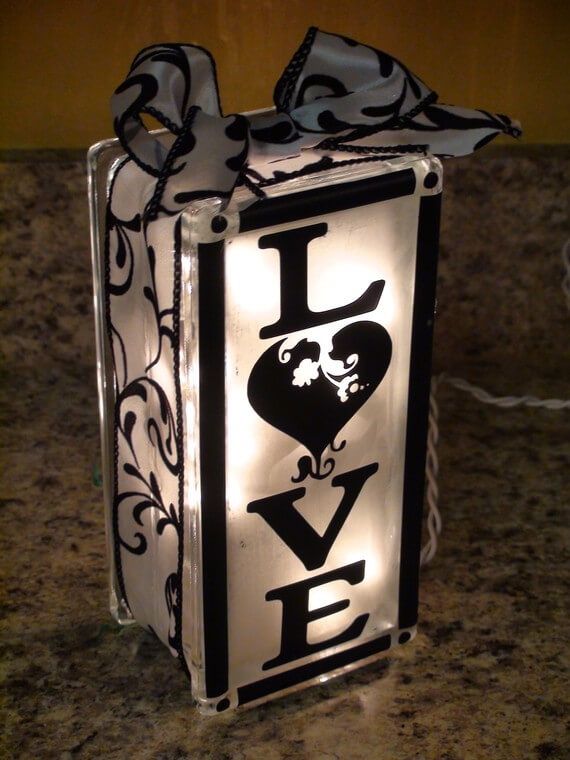
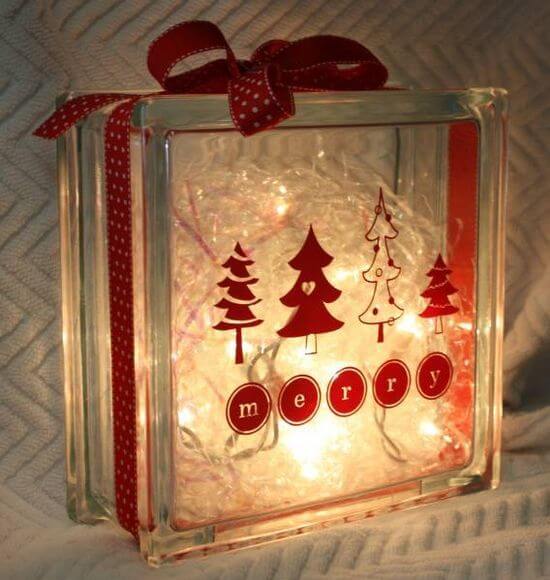
Last step: In this step, you can add the light to the glass block and then add ribbon to the outside of the glass block if that’s your desire.
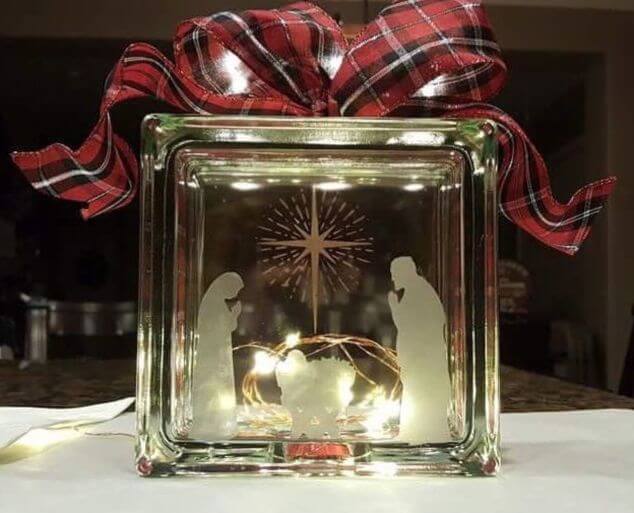


That’s all about block project we finished it.For your better guidance, I was posted the whole project video that helped you a lot for making they both project in easy step.
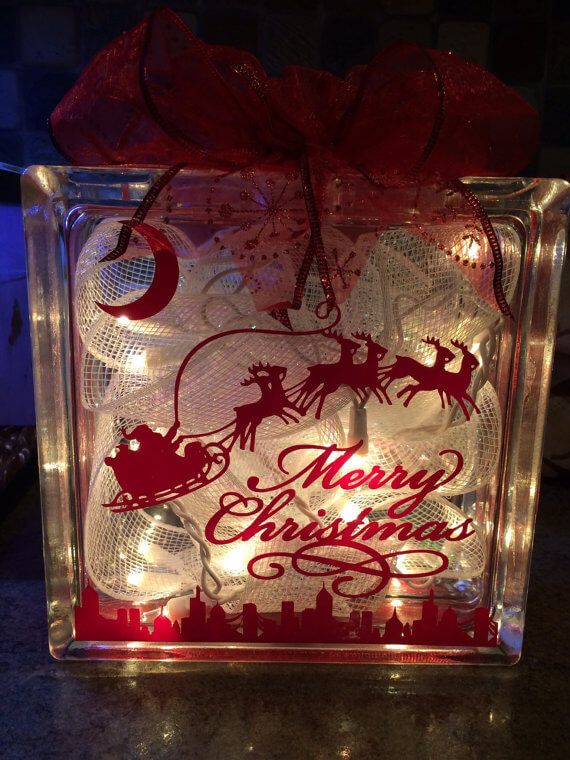
Thats was some of the best block you like it.
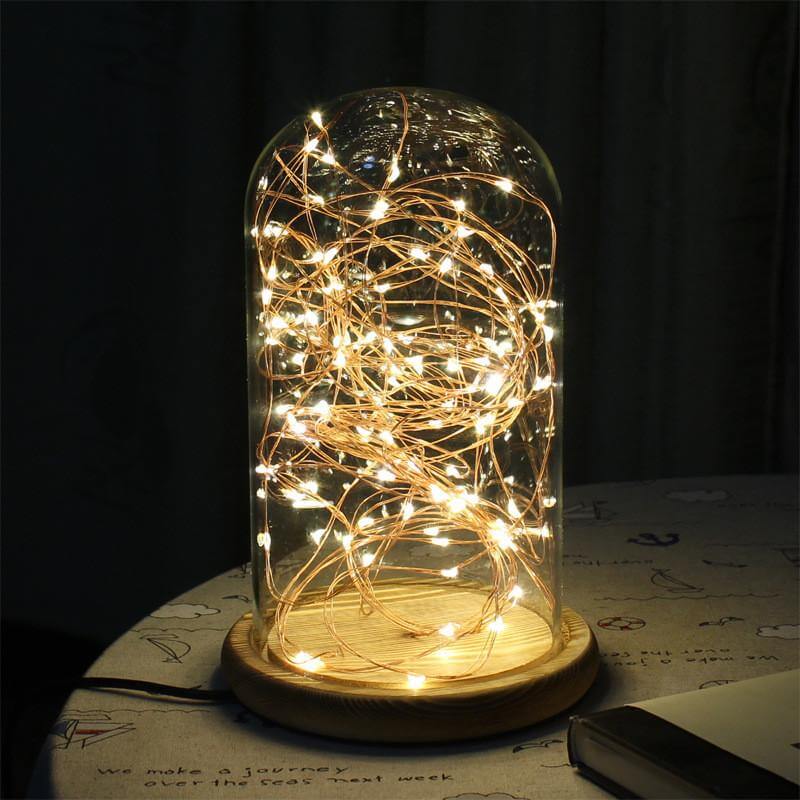
DIY shape Low Voltage LED Romantic lamp.
