Home Blog Page 20

DIY Tea Cart Touch Up

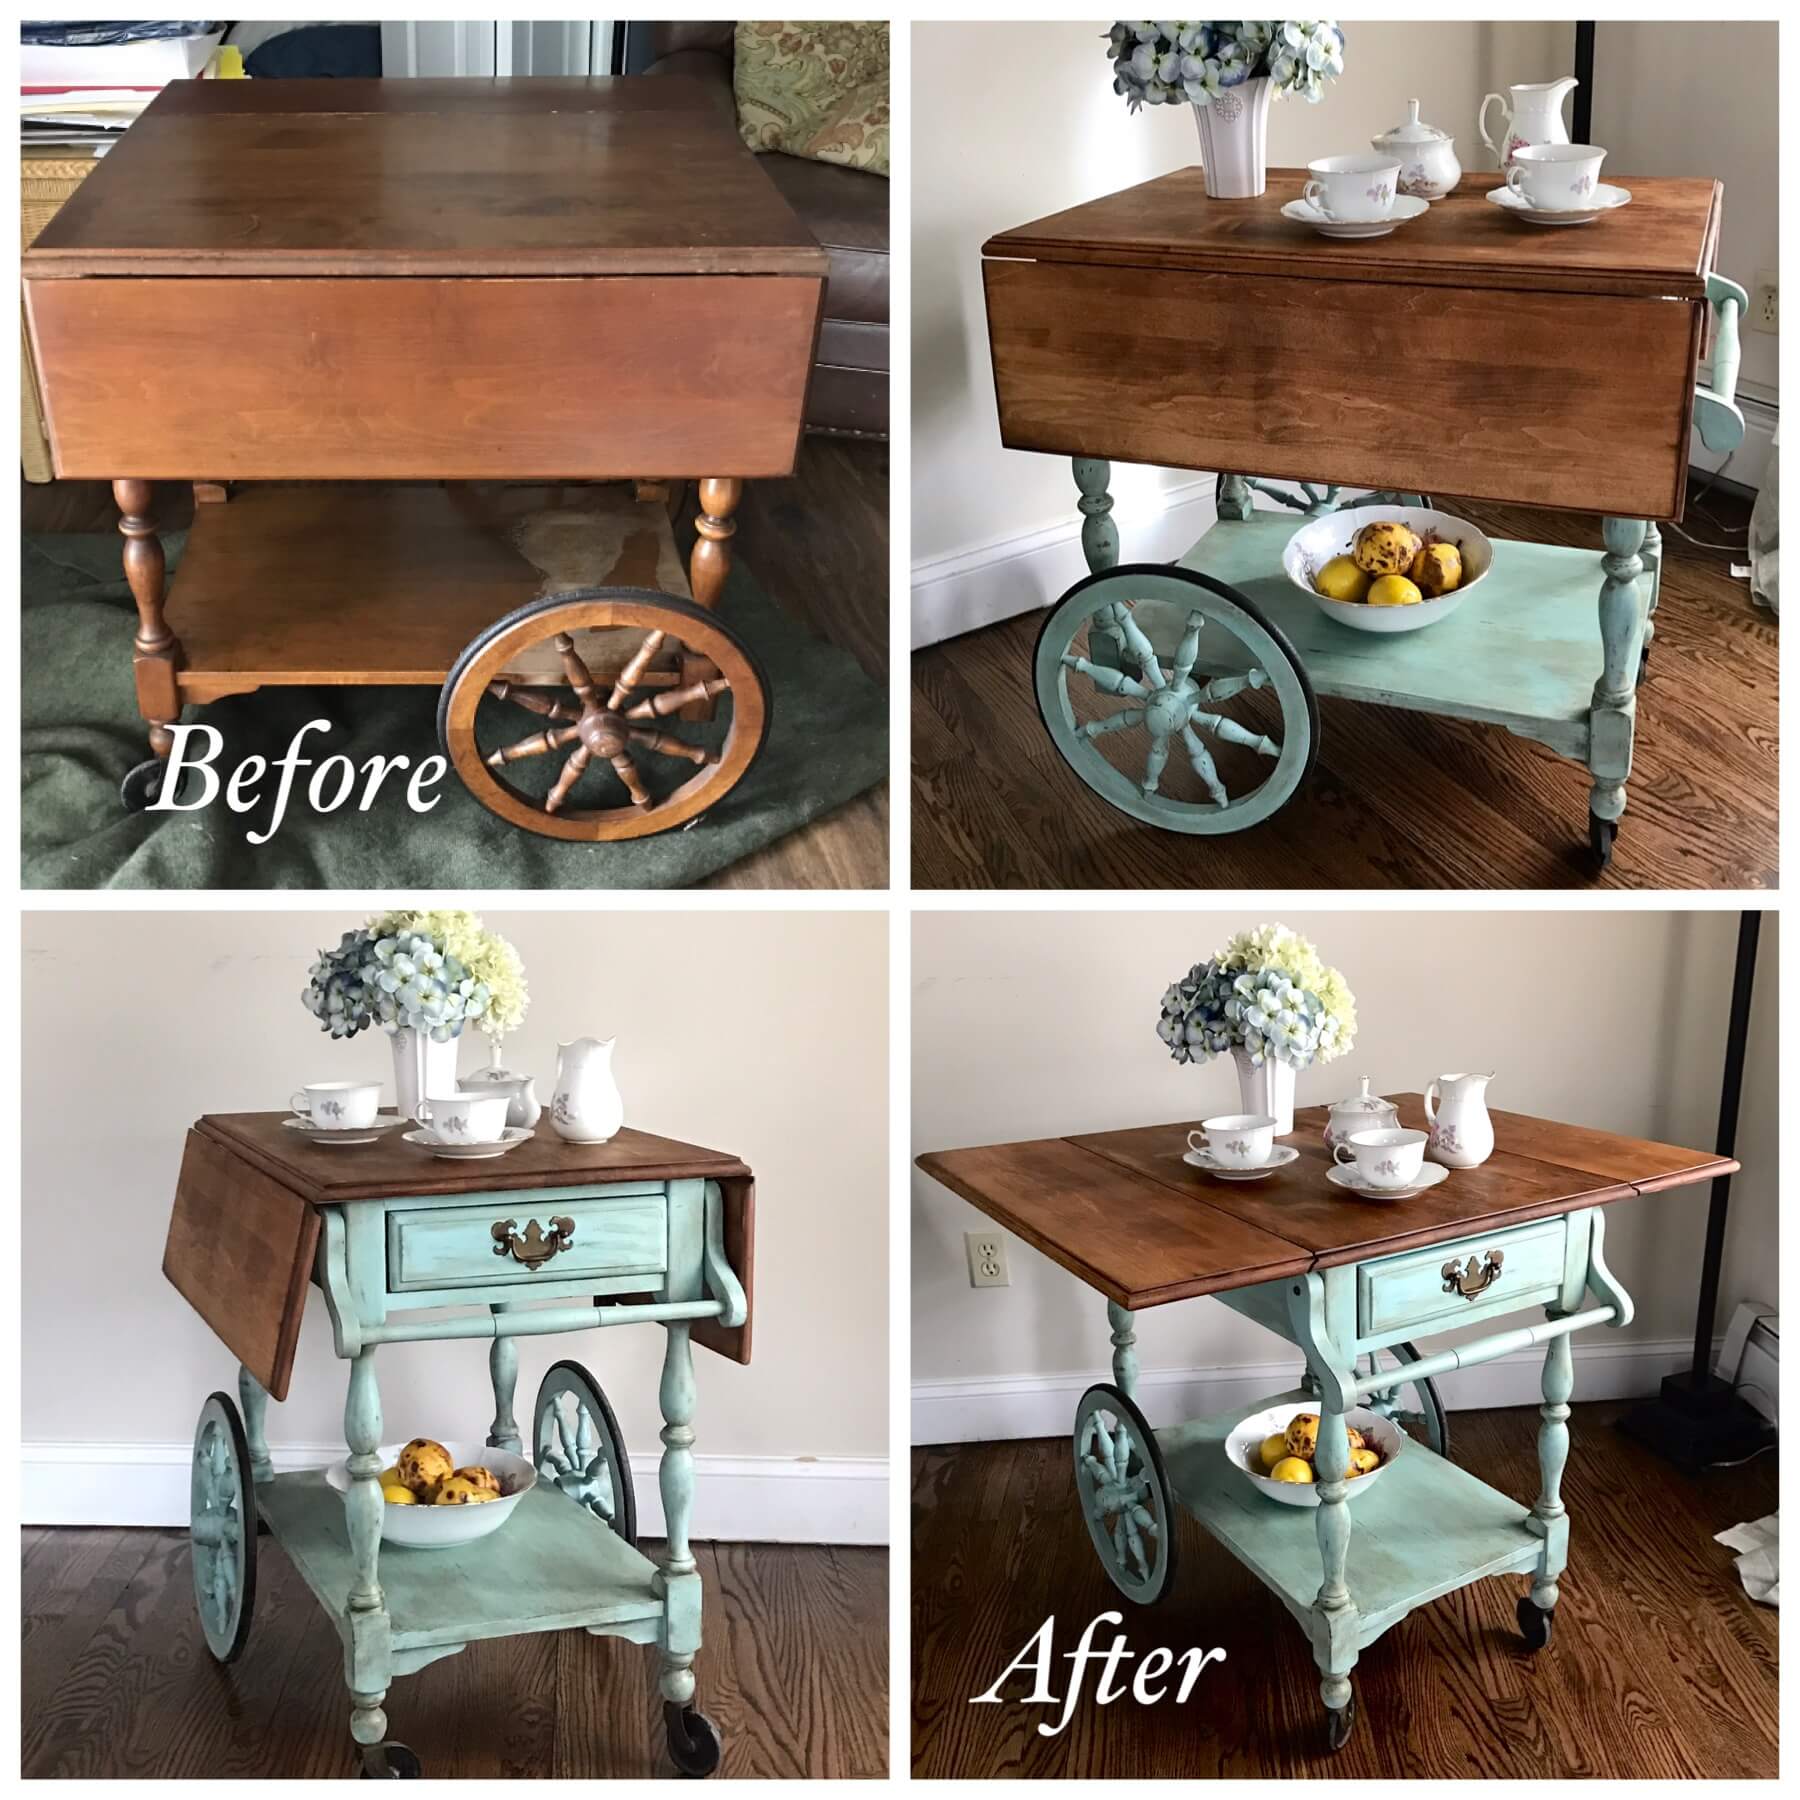
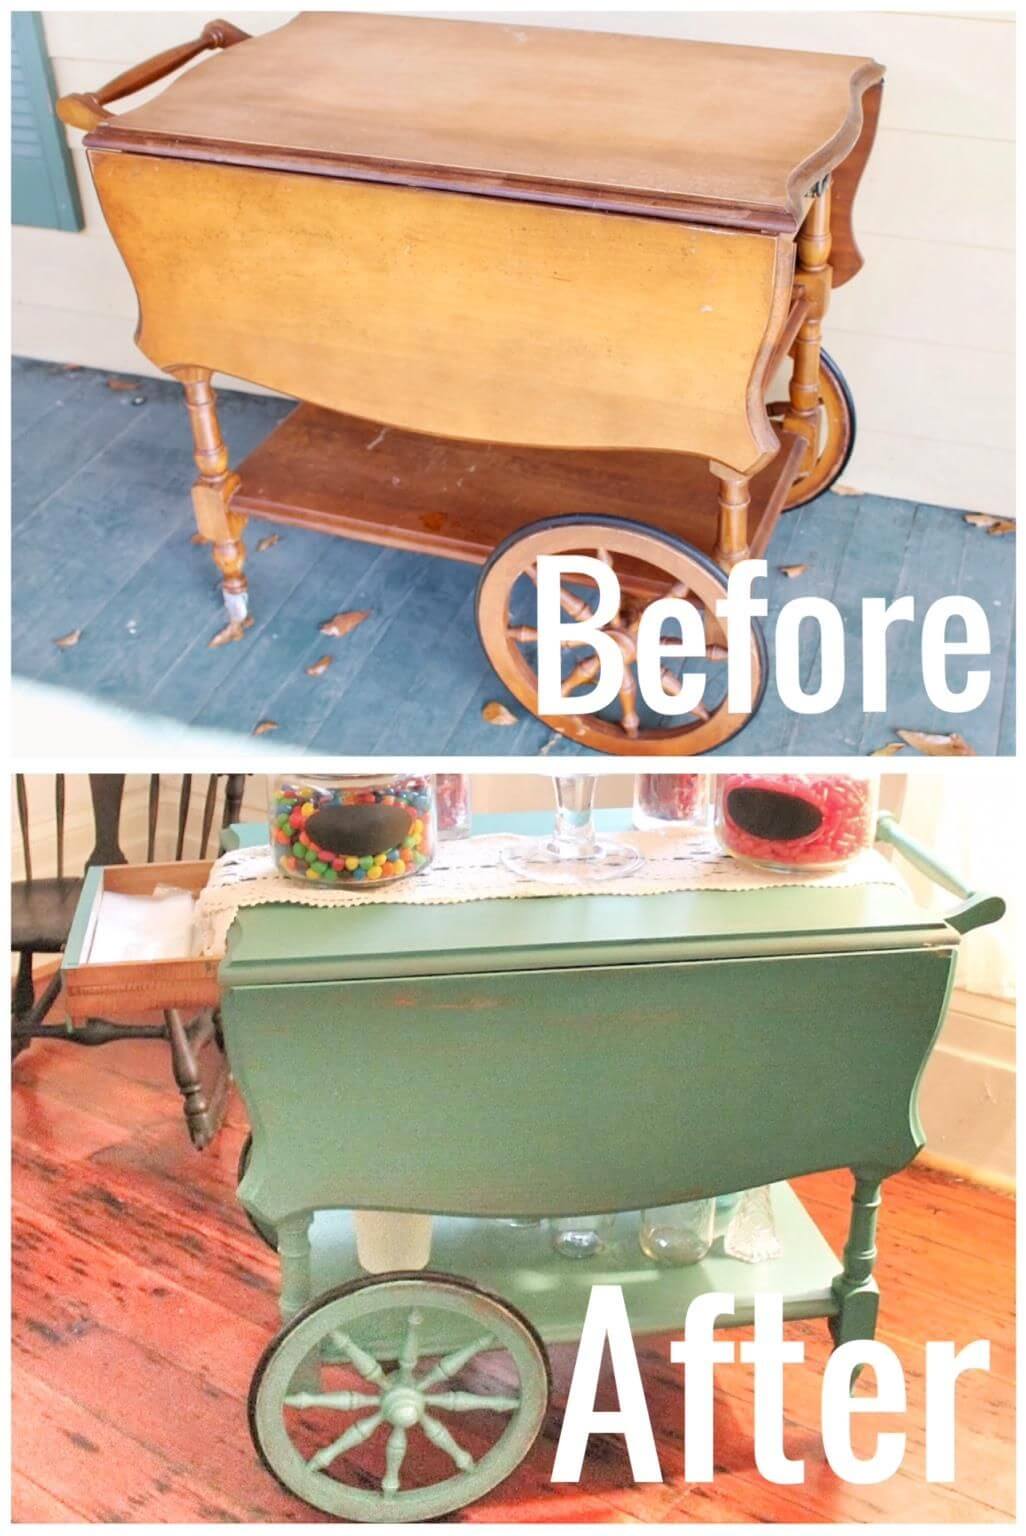
One day one of my best friends asked me I want some tea chart than she getting rid of.She asked me this on Christmas time I immediately tell him to yes I will do it.I also tell him that was great but doing this we need some color for fun.These whole processes take only 3 hours and it’s not expansive you should do it only in $30.

DIY Tea Cart Touch UpDIY Tea Cart Touch Up

DIY Tea Cart Touch Up

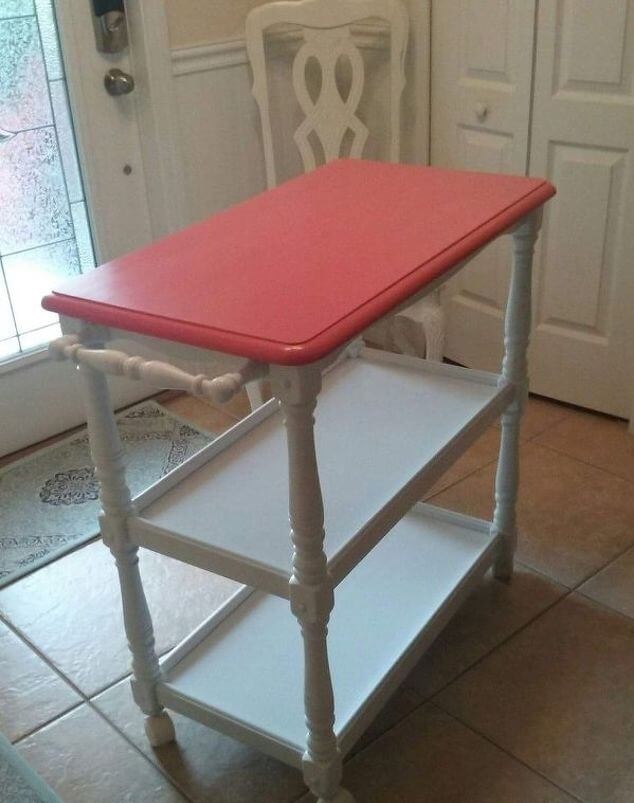
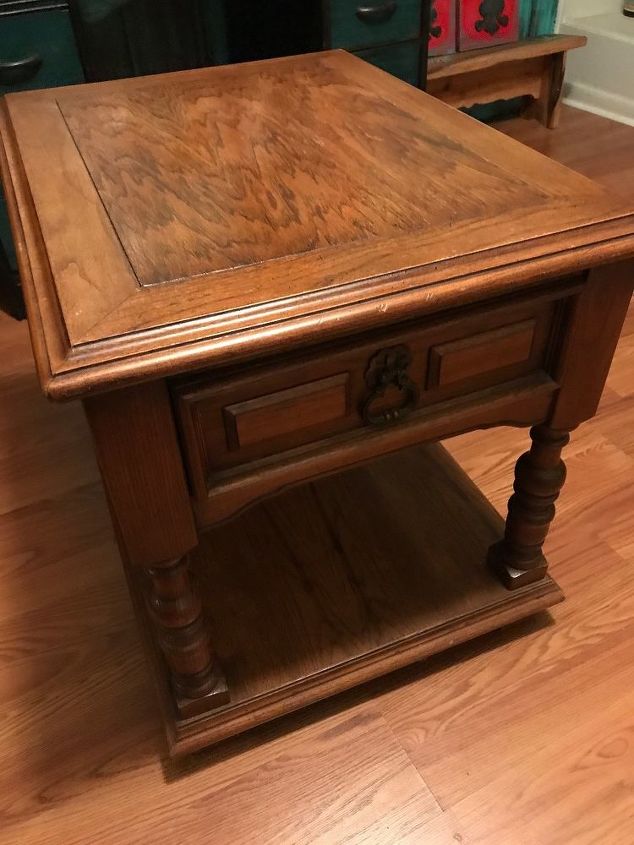
In above image, you can see my table.This looking very great but needed to refresh for making this I grabbed different paint and start my work.

Materials used for this project:

For your better guidance, I will post the list of my material that helps you a lot

  • Water-based Minwax polycrylic

  • Wooden Tea cart

  • Waverly chalk paint (Walmart)


DIY Tea Cart Touch Up

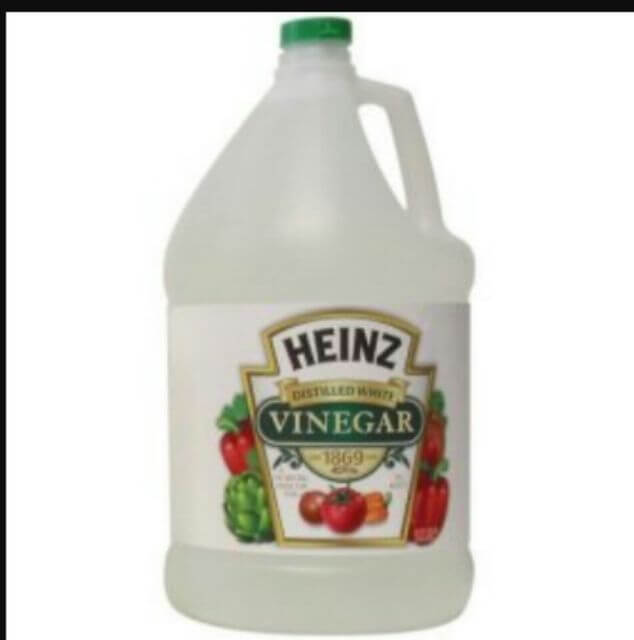
First of all, you get a water, vinegar and spritzer bottle for the purpose of a wipe down all the project before doing it on your hand and get it to goobies off.That’s was very efficient and it was not a toxic.

DIY Tea Cart Touch Up

Now you can freshened this in my condition I start freshened to the bottom with the help of crisp white.After freshened now I paint the top with red coral color.You can paint it any of your desired paint.

DIY Tea Cart Touch Up

That’s all we finished our project.At the end, that looks an amazing or really fun to the color.

DIY Tea Cart Touch UpDIY Tea Cart Touch UpDIY Tea Cart Touch Up

DIY Pipe Cleaner Christmas Tree

0

Hello Crafter!Today we make DIY pipe cleaner christmas tree which is very easy and very cheap and you can make this pipe christmas tree only in one hour.The cost of making this project only $8.The difficulty of this project is easy.Christmas tree of pipe cleaner is not only for kids!you can use it with the help of sweet fuzzy sticks and then it looks like a white tree of the chic little or it’s a pretty and perfect to Christmas.When I clean my craft room recently than I found a bag with some of the white pipe cleans, wooden square block, and a dowel rod.So then I decided to make a tree for Christmas which is me planing in past.That’s the main purpose so that I cleaning my old craft supplies.At the end, me found it before I bought some material for my project.You know we all living in the craft lives at the same point.Now we start our project for making christmas tree.

DIY Pipe Cleaner Christmas Tree (3)

Materials used for this project:

DIY Pipe Cleaner Christmas Tree (2)

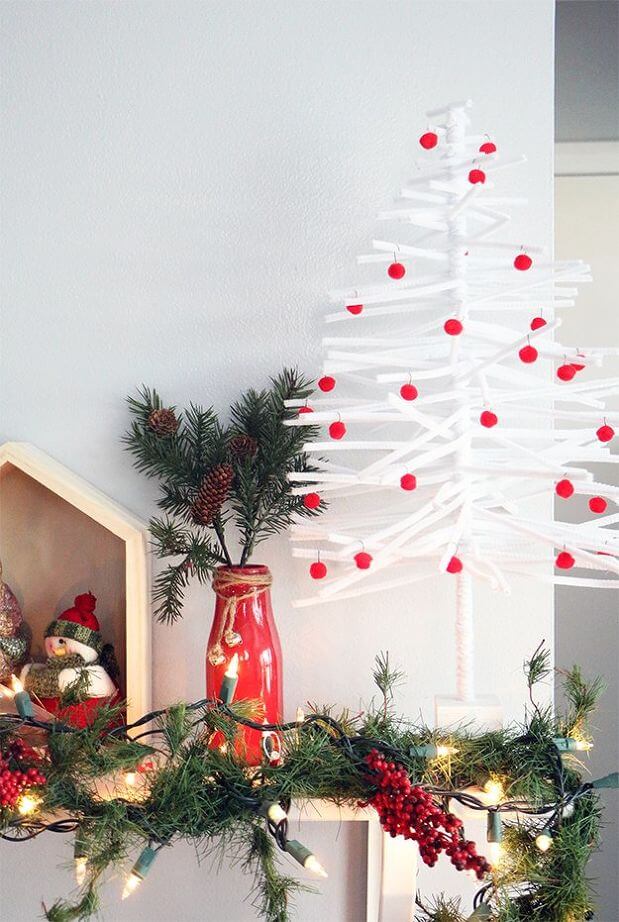
Here is a list of all material which is I use in for making the whole project of DIY pipe cleaner Christmas tree.When i finished to make tree than i add some ornaments to look some pop color.I also attach the image of my whole material which is better help for your guidance of material.

  • Wooden Square Block

  • Dowel Rod

  • Hot Glue Gun

  • pipe cleaners

  • Paint Brush

  • Scissors

  • White Acrylic Paint

Optional:

  • Jewelry Eye Pins

  • Small Red Pom Poms

  • Pilers

DIY Pipe Cleaner Christmas Tree (4)

Step One: First of all in the center of your block you can drill a hole and then cut your rod of dowel to the center.

DIY Pipe Cleaner Christmas Tree (6)

Step Two: Now you can paint your dowel rod and block to any of your desire paint in my case I use white paint.After paint now you wait 5 to ten minute for dry the paint once the paint is dry then you put your dowel rod into the blockhole.

DIY Pipe Cleaner Christmas Tree (5)

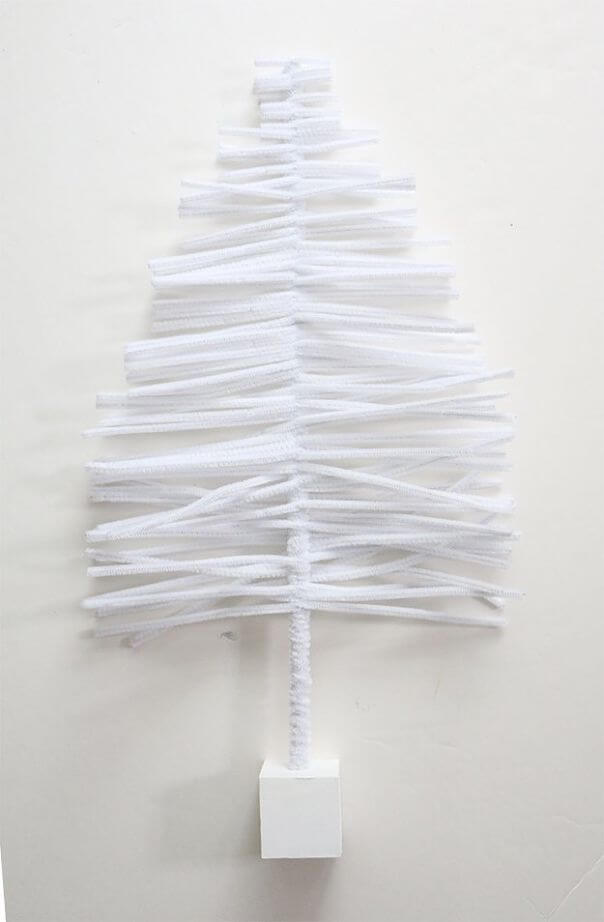
Step Three: In the bottom of the dowel rod you add some hot glue and now you start wrapping pipe cleaner in the bottom around them.After that now you fold some of the pipe cleaners to the half and twist them around to the rod.When you twist it then you push down the pipe cleaner to the bottom of the rod.

DIY Pipe Cleaner Christmas Tree (7)

Step Four: Now Continue to adding the pipe cleaner into the rod until the rod is full.

DIY Pipe Cleaner Christmas Tree (8)

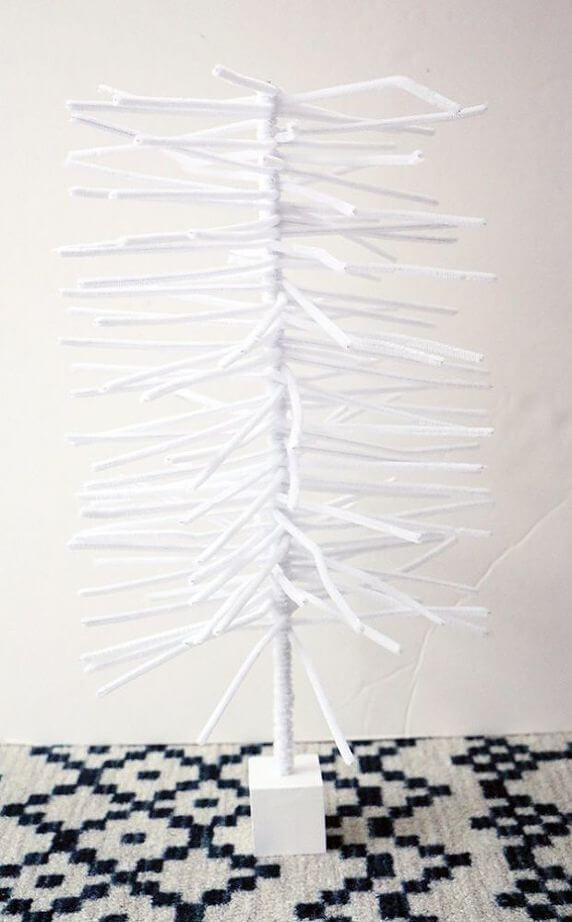
Step Five: When your rod is full of pipe cleaner than you press your pipe cleaner to looks it flat.Now you trim the pipe cleaner to Christmas tree shape using the scissors.Smallest pipe cleaner to the top and longest pipe cleaner to the bottom.

DIY Pipe Cleaner Christmas Tree (9)

Step Six: Now fluff the pipe cleaner to arrange them and then fill it with your own desired shape of the tree and decorate it with your wish.

DIY Pipe Cleaner Christmas Tree (1)

That’s all we finished it and that’s was an amazing decoration piece of your home to look the beautiful your holidays.

DIY Pipe Cleaner Christmas Tree (10)

I hope that’s great for your holiday and Christmas tree decoration you like it.If you have any problem so ask me in the comment section below I will respond you soon as soon possible to your problem.Thanks for being here or merry Christmas.

DIY White Christmas Mason Jar Luminaries

0

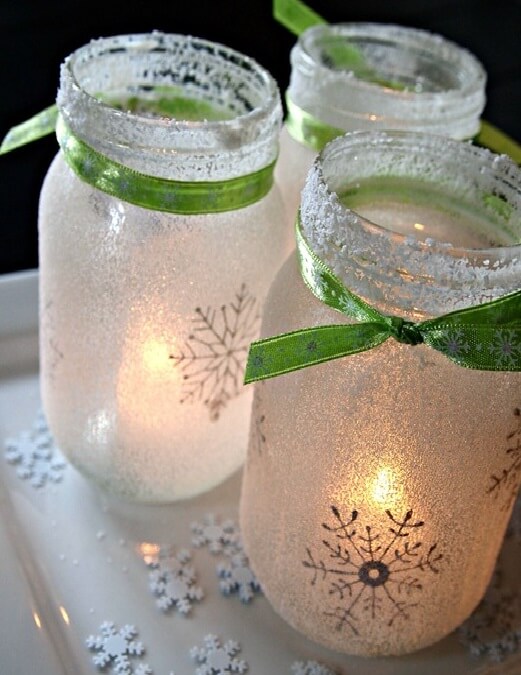
Hello Crafters!It’s time for Christmas decoration.So today we make DIY white Christmas mason jars luminaries this all project was very easy or cheap and pretty for Christmas luminaries of mason jars.To make this project you will need only one hour and this whole project was you complete only in ten dollars of cost.

Christmas luminariesDIY White Christmas Mason Jar Luminaries DIY White Christmas Mason Jar Luminaries Holiday Mason Jar Crafts

In the below image you can see this mason jars luminaries is very easy.First of all for making this luminaries you have all the material in your hand for start the project of mason jars luminaries.

DIY Mason jar luminaries suppliesmartha stewart craft supplies

Here is the list of all the material which is used in this project Silver glass paint, mason jars, ribbon, mod podge, foam brushes, tea light, salt, and stencil.All the material image is given in above.

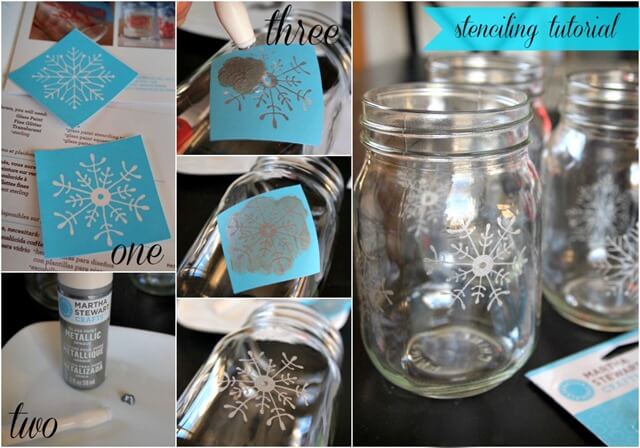
DIY stenciling tutorial

First of all before starting your project here is one step which is optional you can do if your desire if you do this step that’s, will do snowflakes or do pretty touch.

salt covered mason jar candle

Step One: Cut a piece of a stencil with your own desire style and shape.This stencil looks like a kind of sticker.When you use it you remove it from the back of the paper.Now you can ready your desire color paint or dauber.Then in the stencil, you can place your stencil sticker on the jars and you are sure that stencil is completely smooth it and laying flat.
Step Two: You can use any of your desire paint for stencil your jars but I use Martha Stewart glass paint to snowflakes stencil for the stencil my jars.Now you dab some of the paint to the entire of your stencil and wait for five to ten minute to dry the completely your paint when your paint is dried than remove your stencil that was very easy and give you an amazing or pretty look.

diy candlesWhite Christmas Luminary Jar

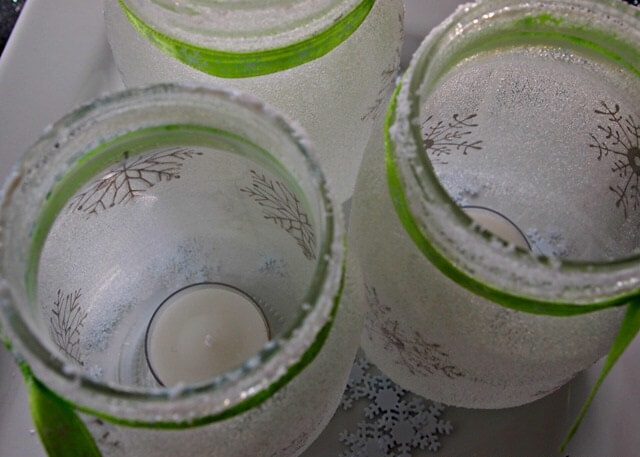
Step Three: When my paint dried than I use mod podge to coated my mason jars.After coating my mason Jason than I sprinkle the salt to my jar.You can use any of your desire salt but I use in the project is regular table salt in the mason jar.Tip: I made these project a week ago for because the salt gives little time to opaque to exposed on the air.So if you are doing fast for making this project for holiday party or some event so do not do this for best result in short time.

christmas candles

Step Four:You are sure that the sticks of salt is right to mod podge.When it is all right than it look amazing and pretty.

martha stewart glass paint

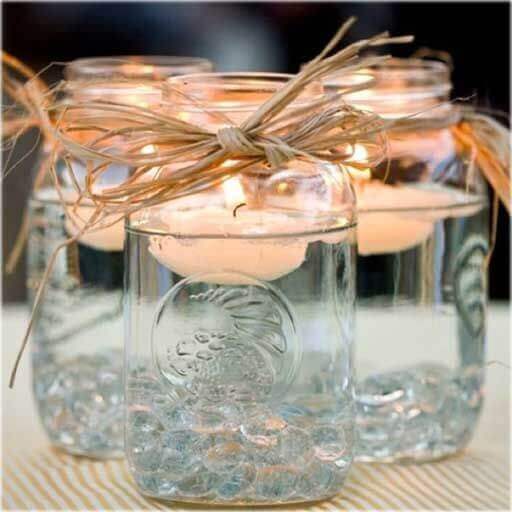
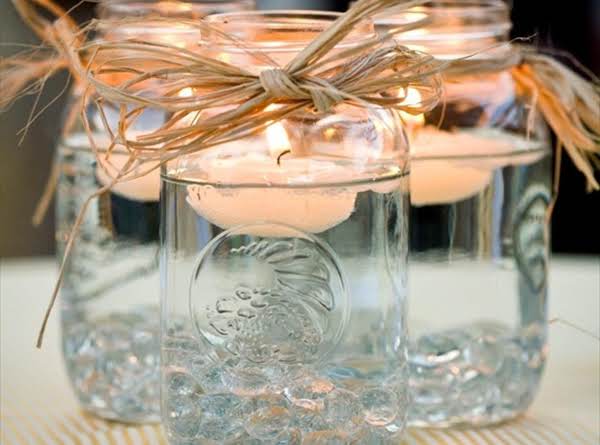
Step Five: In the top of the ar using ribbon you can tie it and put some of the tea light candles into the jar and lit your candle.

DIY Magical Snowy Mason Jar Craft & Gift TagsDIY White Christmas Mason Jar Luminaries white christmas winter christmas christmas time

You also love with it how they turned out when you lit the candle.

DIY White Christmas Mason Jar Luminaries mason jar decorations christmas decorations

Thats looks an amazing centerpiece to the table of holiday or any of event or party decoration and also best for winter wedding ceremony decoration.You can also gift it to any of your beloved one to the holiday party and christmas celebration.I hope you like this amazing DIY and give your feedback in comment section below or if you have any of problem you can also ask me your problem i will answer your problem soon as soon possible.Thanks

cool diy halloween lanterns and luminaries DIY White Christmas Mason Jar Luminaries

DIY Magical Snowy Mason Jar Craft & Gift Tags

0

DIY Magical Snowy Mason Jar Craft & Gift Tags

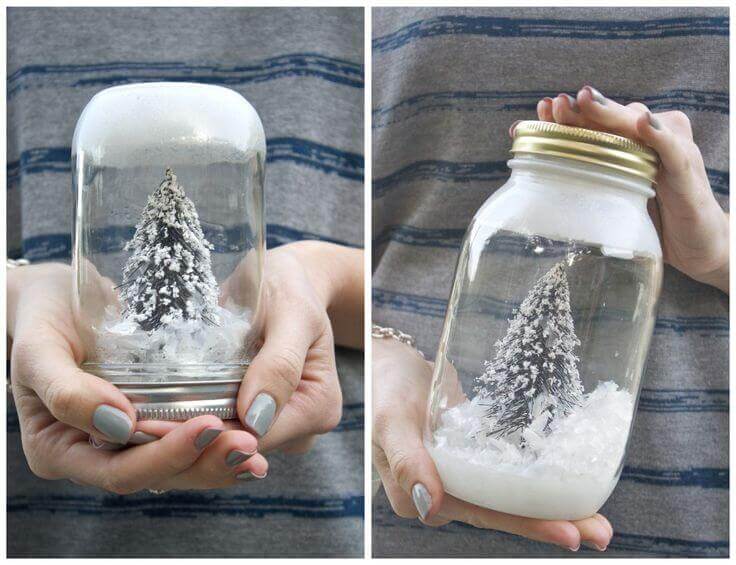
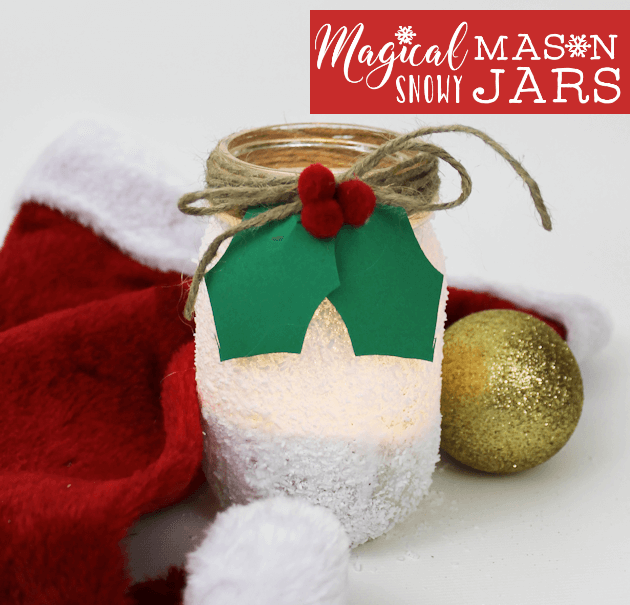
Hello Crafter!Today we make magical mason snowy jars using Epsom salt you can show little magic craft with snowy mason jars to your home to the old fashion.Children also help you to make this amazing mimic salt of salt.That’s all process was very safe for all of us even children.You can also put a battery operated candle or real candle on it after you finished the whole process and make it perfect.Then you can show it to your fireplace mental and windows, or it’s good if you can give them to your friend to the holiday gift, Party gift, Christmas gift and also on new year gift.That all process was very cheap and unique all of your friend and neighbors love this gift.

DIY Magical Snowy Mason Jar Craft & Gift Tags DIY Magical Snowy Mason Jar Craft & Gift Tags DIY Magical Snowy Mason Jar Craft & Gift Tags

Material Snow Mason Jar Craft

Not For Salt: You all are now that’s salt has many shapes.Some of the salt shapes are Ice looking and crystal or some other type is which is we used is the flaky shape.The all of the salt shapes is safe for eaten but all of this is fall off to the jars in a bit for making project you can use the clear acrylic sealer if it helps to prevent the desired.

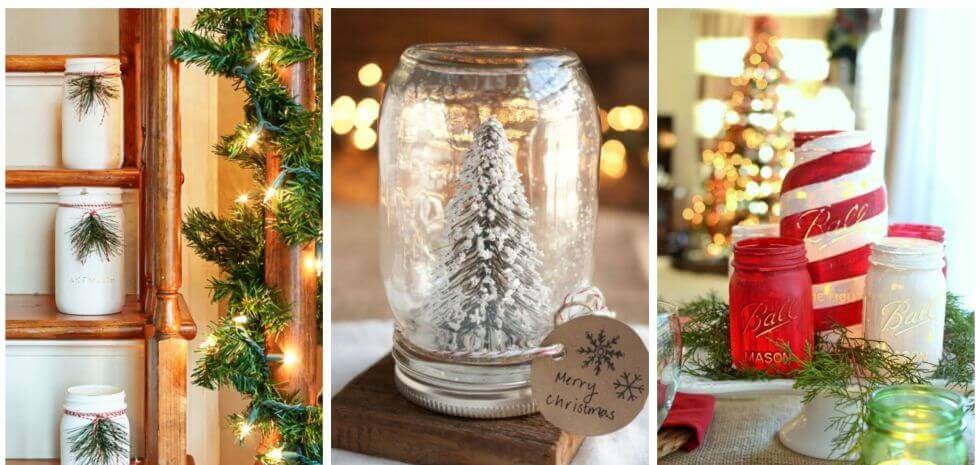
DIY Magical Snowy Mason Jar Craft & Gift Tags DIY Magical Snowy Mason Jar Craft & Gift Tags

First of all get all of your material.In the below images I show the all of my material which is I use for making the whole project of a snowy mason jar.In the below image you can see my jar which is quart size but when I finished my project with the help of pint size.

DIY Magical Snowy Mason Jar Craft & Gift Tags

This is the shape of Epsom salt which is I used in this project you already know Epsom salt has many textures.In the below images Epsom salt place in the cup for the sprinkle.

DIY Magical Snowy Mason Jar Craft & Gift Tags

Now I clean my jar for put on the paper plate and clean the jar very quickly.

DIY Magical Snowy Mason Jar Craft & Gift Tags

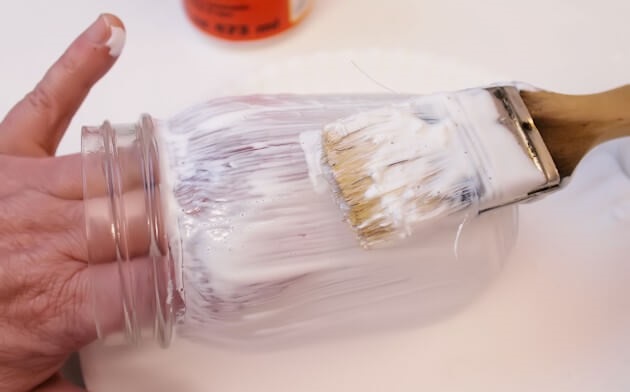
Now your mod podge your brush to all sides of the jar with a heavy coat.
DIY Magical Snowy Mason Jar Craft & Gift Tags

It up to you makes sure to curved and bottom part of the jar required heavy area which is used an extra or heavy coat of brush to clean it.

DIY Magical Snowy Mason Jar Craft & Gift Tags

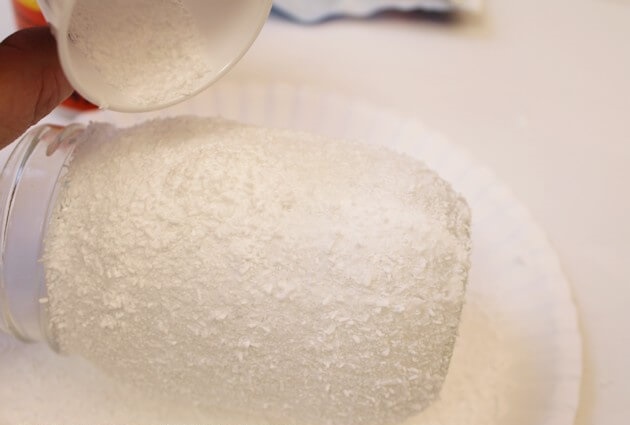
Now I sprinkle my Epsom salt to the jar turning all of the jar sides.
DIY Magical Snowy Mason Jar Craft & Gift Tags

DIY Magical Snowy Mason Jar Craft & Gift Tags

The extra of salt dump back into the salt packet to use for some other jar project.
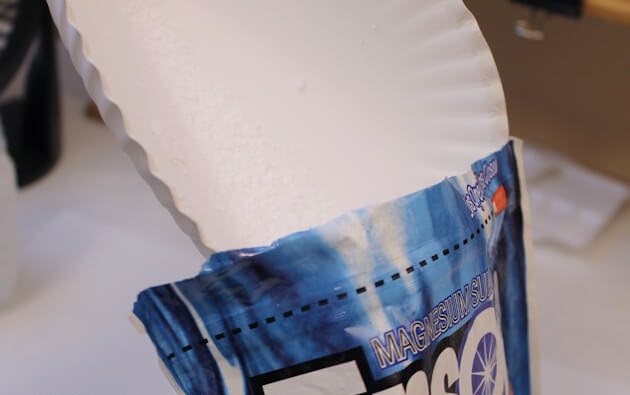
DIY Magical Snowy Mason Jar Craft & Gift Tags

Now you cut any of your desired shape leap patterns but I cut holly leaves shape of my leaf.
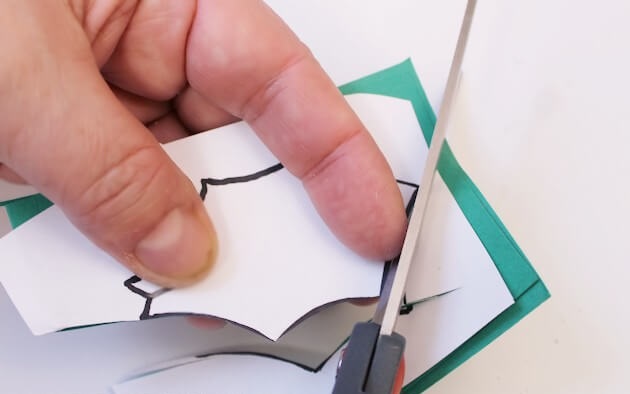
DIY Magical Snowy Mason Jar Craft & Gift Tags

Glue the leaf where you cut it and make it to curved effect.
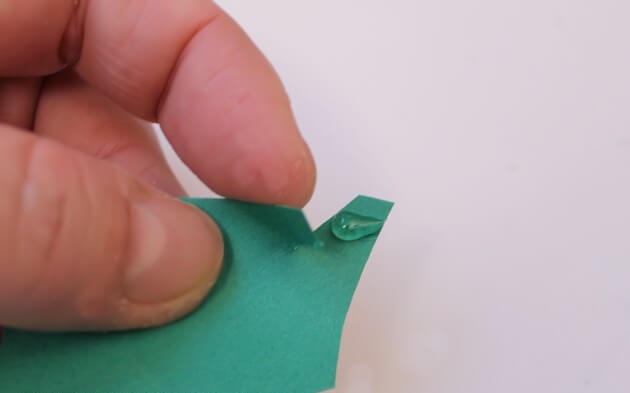
DIY Magical Snowy Mason Jar Craft & Gift Tags

Using twine all around the jar to wrap it then glue the two holly leaves to underneath the jar to show it tie.The example of this process given in images below.

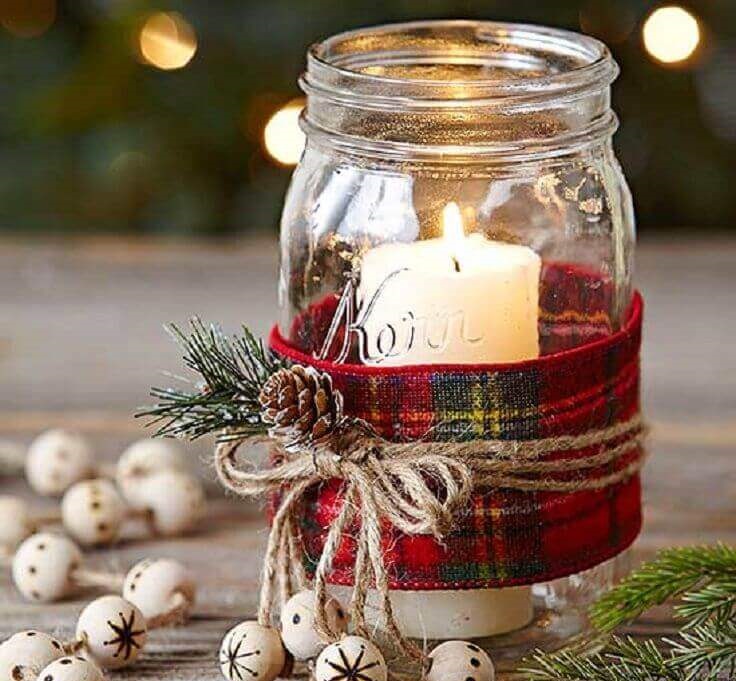
DIY Magical Snowy Mason Jar Craft & Gift Tags

DIY Magical Snowy Mason Jar Craft & Gift Tags DIY Magical Snowy Mason Jar Craft & Gift Tags DIY Magical Snowy Mason Jar Craft & Gift Tags

Glue any color of pom poms berries but I use red color in my project.

DIY Magical Snowy Mason Jar Craft & Gift Tags

Choose any type of tag which is you like if you give your jar to gift someone.

DIY Magical Snowy Mason Jar Craft & Gift Tags

Attaching some beautiful color ribbon to your tag.

DIY Magical Snowy Mason Jar Craft & Gift Tags

Now you add your tag to the jar to give someone special.

DIY Magical Snowy Mason Jar Craft & Gift Tags

DIY Magical Snowy Mason Jar Craft & Gift Tags DIY Magical Snowy Mason Jar Craft & Gift Tags DIY Magical Snowy Mason Jar Craft & Gift Tags DIY Magical Snowy Mason Jar Craft & Gift Tags DIY Magical Snowy Mason Jar Craft & Gift Tags DIY Magical Snowy Mason Jar Craft & Gift Tags

Then add any of battery operated and real candle to your jar to show it beautiful display.

DIY Magical Snowy Mason Jar Craft & Gift Tags

DIY Magical Snowy Mason Jar Craft & Gift Tags DIY Magical Snowy Mason Jar Craft & Gift Tags DIY Magical Snowy Mason Jar Craft & Gift Tags DIY Magical Snowy Mason Jar Craft & Gift Tags

That’s all we finished our project you can gift it to your beloved one and happy holidays.

DIY Bulletin Board From Wine Corks

0

Hello crafter!welcome again today we make DIY Bulletin board from a wine cork and we do some fun upcycle with wine corks which is just only 30 mints to make a bulletin board of wine corks that was best for your office to organize it.That’s was a gift of your holidays.
DIY Bulletin Board From Wine Corks

DIY Bulletin Board From Wine Corks

Materials used for this project:

DIY Bulletin Board From Wine Corks

First Step: First of all you will paint all of your shoe box lids.
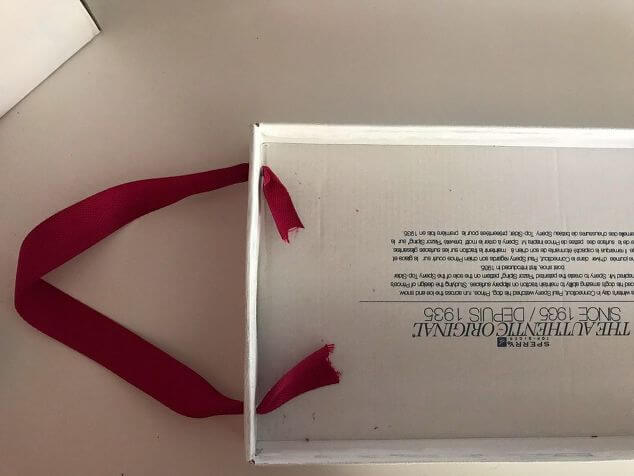
Second Step: Poke two hole on the one side end of the string ribbon and lid through.
Third Step: Inside the box glue at the one end.

DIY Bulletin Board From Wine Corks

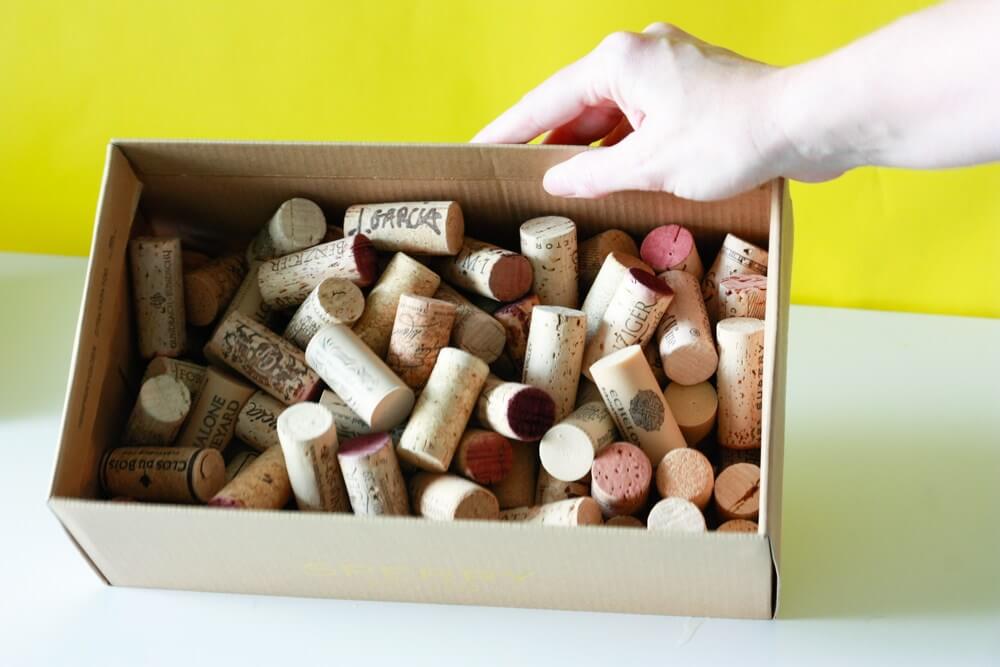
Step Four: Now you can start the gluing of all your corks.That’s was your wish how much corks you use it was your desired but in my case, i use 120 corks.I glue it to the bottom of both corks and all side of the corks to sure that was snug in a good position.

DIY Bulletin Board From Wine Corks

DIY Bulletin Board From Wine Corks

DIY Bulletin Board From Wine Corks

Step Five: After you gluing all of your corks now you can paint few of cork to look like it natural.In the corks, the red wines look like pretty without any paint.

DIY Bulletin Board From Wine Corks

DIY Bulletin Board From Wine Corks

That’s all we finished it.To make this whole project you can use any type of lid to make pin board but I use shoe lid to make my project.I use shoe lid because I like it for this reason in shoe lid there is lid around the edge that will help to keep corks in place.I hope you like the whole project of DIY bulletin board from wine corks.So now comment in below you like this DIY or not its help a lot for your opinion.Now, wait for all for your response.This DIY is special for your holiday and you can also gift for your friend in the holiday party.Thanks

DIY Bulletin Board From Wine Corks

DIY Bulletin Board From Wine Corks

DIY Flip A Side Table In No Time Flat

0

Hello Crafters!Today I gonna show you how to make DIY flip a side table in no time flat.That’s all process for making side table complete in only one hour.During last time when I go to the second-hand store where I found this table and grab it.That’s table was brownie frownie but its okay! With the help of a little paint, the do it better condition.For your guidance will post the whole project video at the end of the article.So that helps you a lot for making side table in the better way.

Materials used for this project:


Now go to the town and grab some junk monkey paint.

DIY Flip A Side Table In No Time Flat (2)

To using this paint the project was so easy because this paint flips furniture.Now grab some brush for painting the furniture here is some of the brushes that were I like it.

DIY Flip A Side Table In No Time Flat

To make this project I used shabby chip brush.this brush was perfect and amazing to create distressed style finish!
Now for coloring, I put black stencil to make it soft color.so that’s color shape was called Bahama jade.

DIY Flip A Side Table In No Time Fla

For design, you can design anything with your own wish or desire but I design here a mermaid!that’s was the best and perfect for this color combination.

DIY Flip A Side Table In No Time Flat

so if you are ready to make all the project here so I will post the whole project video you like it that help you full to making this project easily.Happy holidays and Merry Christmas

DIY Easy Winter Light Up Snowman Craft!

0

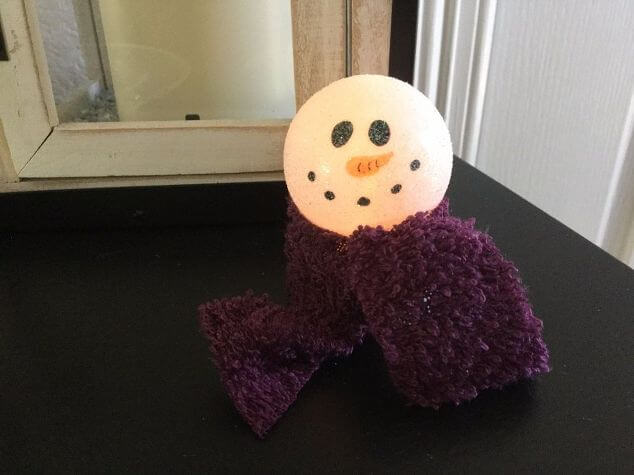
Hellow Crafter!Today we make this amazing DIY easy winter light up snowman craft!This was easy and not expansive you can make winter light up only in 20 minutes.That was an amazing gift for adults, kids, favor party, and parties etc.You can see the whole project video below the article.

DIY Easy Winter Light Up Snowman Craft!

Materials used for this project:

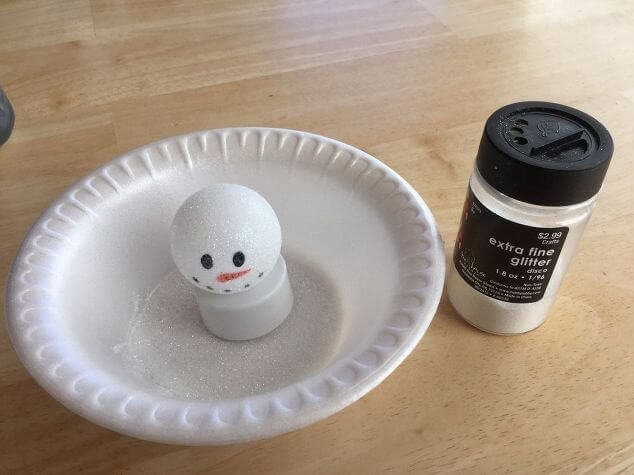
  • Glitter
  • Razor Blade for cutting something
  • Elmer’s School Glue
  • Fabric that was only for optional
  • Battery/Flicker light for Light Turn on/off
  • Ping Pong Ball
  • Permanent Markers

DIY Easy Winter Light Up Snowman Craft!

Step One: Ping pong ball of the bottom cut with an “X”.Kids do not do this step.You can do this step at any place but I do this most of parties class.

DIY Easy Winter Light Up Snowman Craft!

Step Two: In ping pong ball you can draw any of your desire faces using markers and wait for 3 to 5 minute for dry it.

DIY Easy Winter Light Up Snowman Craft!

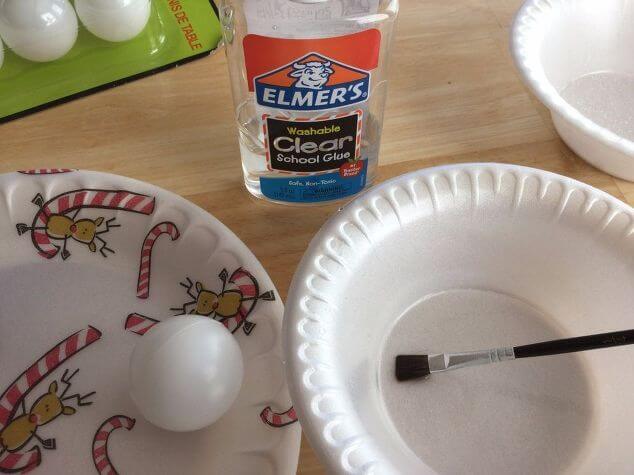
Step Three: You can use any glue to paint but I use Elmer’s clear school glue to paint it.

DIY Easy Winter Light Up Snowman Craft!

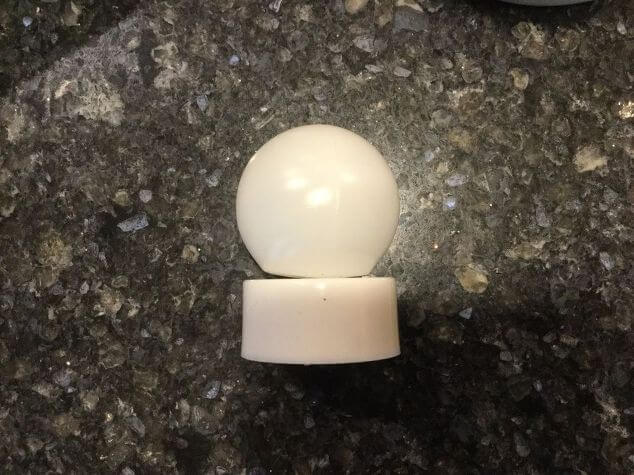
Step Four: This step is only for optional if you desire then you can use this step.Using ping pong ball candle and battery.

DIY Easy Winter Light Up Snowman Craft!

Step Five: Now you can using glue on the sprinkle glitter and wait for 2 to 5 minute for dry the glue.

DIY Easy Winter Light Up Snowman Craft!

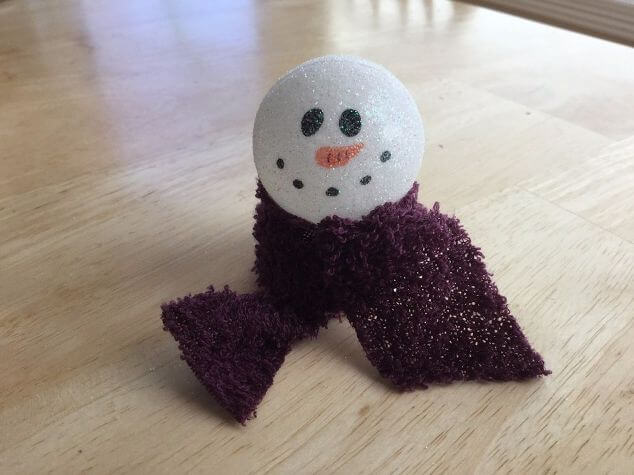
Step Six: This is optional use a piece of fabric to make it tie around the light of flicker to like its scarf.

DIY Easy Winter Light Up Snowman Craft!

Step Seven and final step Using a battery to the tea light to turn on and enjoy.

DIY Easy Winter Light Up Snowman Craft!

This craft you can use for a party and favors gifts.

DIY Easy Winter Light Up Snowman Craft!

Thatsall we finished it For your better guidance I will post my whole project video you may like this and that helps you a lot.You can also check my more interested DIY creation to check my website daily.

DIY JOY Holiday Wreath – Christmas DIY

Hello!Crafter JOY is a word that everybody like in season of holidays.So today I make DIY JOY holiday wreath to do your holiday best.Many of people use the joy world only for Christmas but I think it was carried on us for the whole year and it’s a special time of joy at the end of the year.This is not only joy for yourself in this time everyone was in joy situation.The holiday season is also a very tuff and hard time for many of people all around the world.The book name “Wonder” I read a Quote on this book about the hard time of the holiday season people the Quote is this”Be kinder than is necessary. Because it’s not enough to be kind. One should be kinder than needed” So if we do little help other in the holiday than it will help a lot to the other it’s also a surprise on hard time people and its also gave us same joy in the holiday season.So now I start making my project step by step I also post the whole project video at the end of this article.This video helps you for making this project easy.


DIY JOY Holiday Wreath - Christmas DIY (6)

Materials used for this project:

DIY JOY Holiday Wreath - Christmas DIY

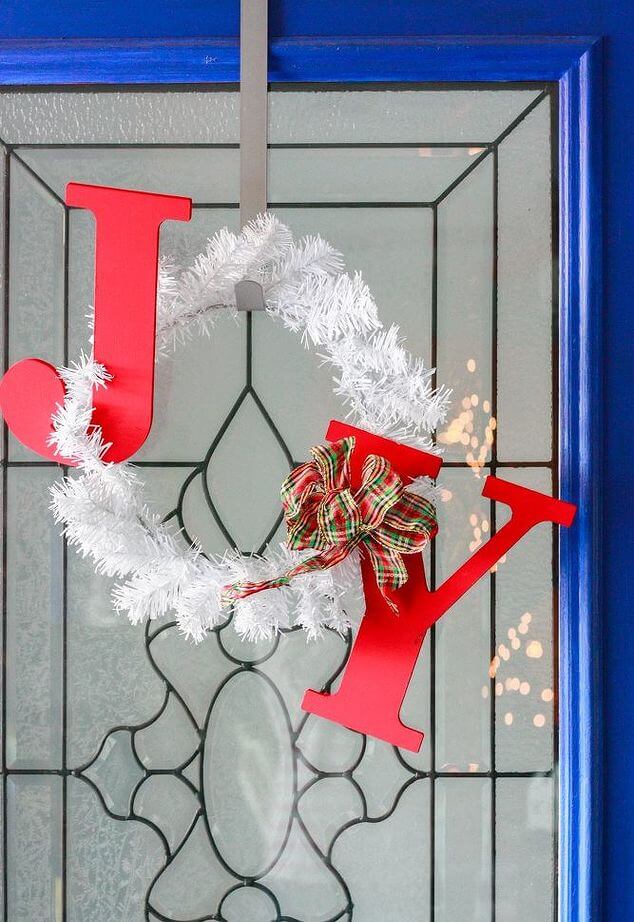
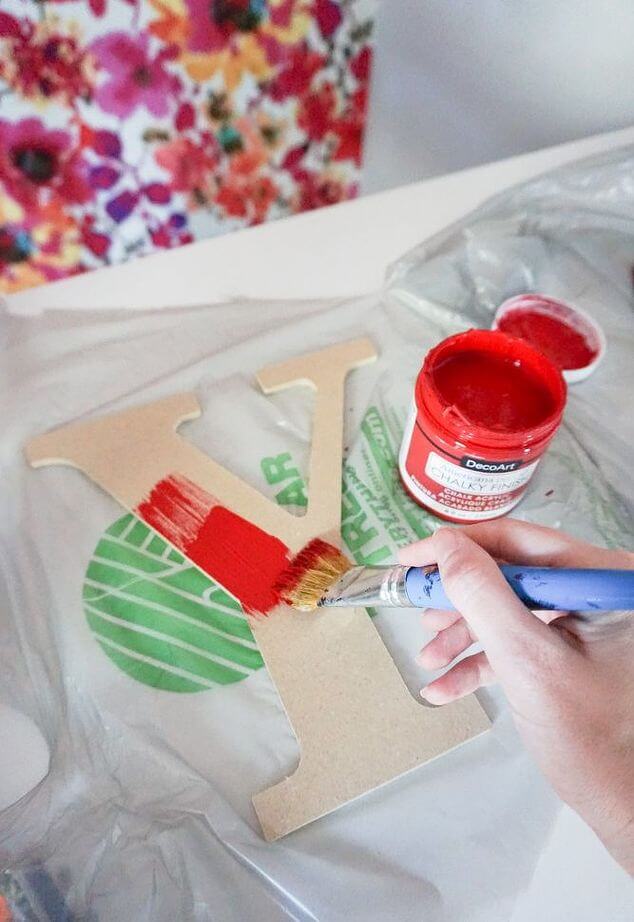
Step One: Paint the all of your letters if you want to paint your letter with any of your desired paint.You can use any color of paint but I use the bright red to paint my wreath because my letter was white color so I paint it.

Step Two: Now you attach your letter it depends on you which type of wreath you choose to create.Using faux pine wreath you can attach the bending wire of wreath to the wrapping around the letter.It’s optional with the help of drill make a hole in the top of Y and bottom of J and then attach the wreath using twine.

DIY JOY Holiday Wreath - Christmas DIY (6)

Step Three: Using faux flower, ribbon and other your wish/desired decoration material you can decorate the wreath.If you want to show the wreath to your front door than with the help of wreath door hanger you can show it to your front door.

so that’s all we finished it and in the below, i post the whole process video for your help.thaks

Glass Etching an Ornament and Glass Block – Christmas DIY

0

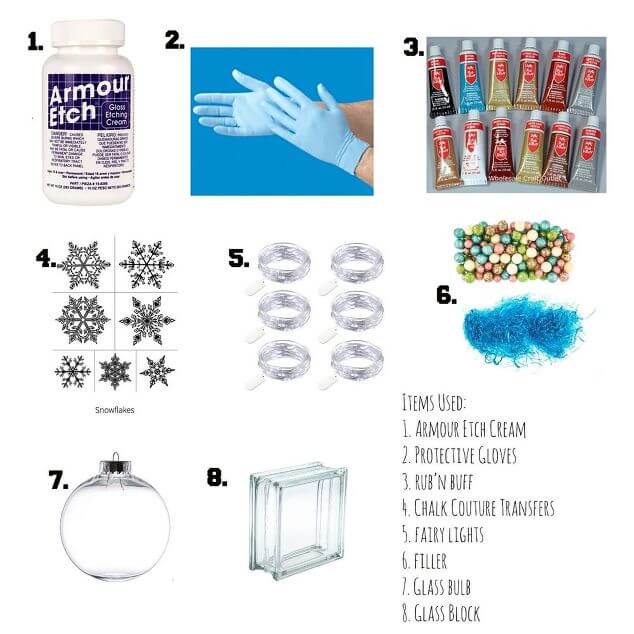
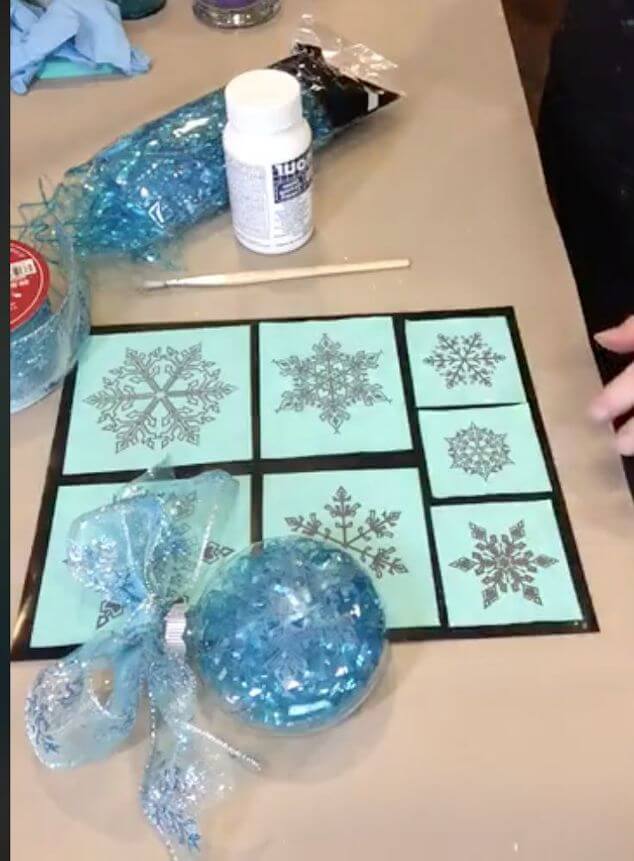
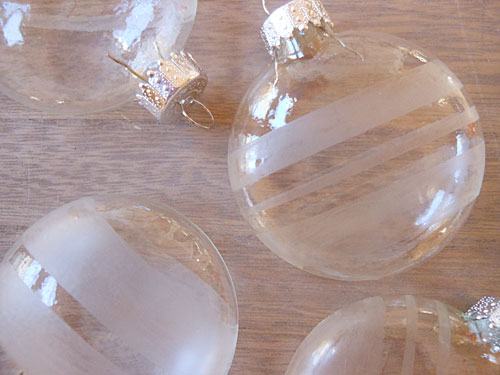
Hello! Crafters, Today I gonna show you to make glass etching an ornament and glass block two different and easy project with the help of chalk couture transfers & Armour etching cream.This two project glass etching and glass block are my best gift to the crafter to DIY in your home.This project is very cheap you can make this project only in $5 to $15.Before starting my project I will give you some most important tips and instructor about your project.So please wear a glove before starting your project.I also post my whole project  video at the end of this article.

Glass Etching an Ornament and Glass Block - Christmas DIY

Materials I used for this project:

Glass Etching an Ornament and Glass Block - Christmas DIY

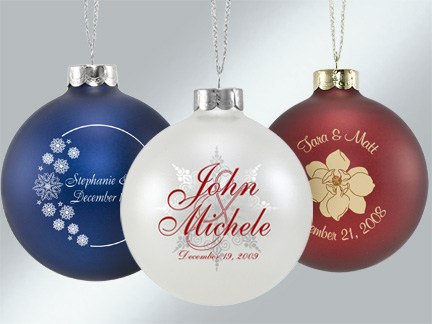
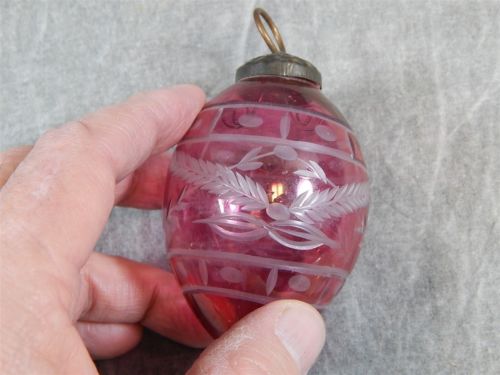
Ornament of the project

Glass Etching an Ornament and Glass Block - Christmas DIY


First of all press the glass ornament so that will sure you that in screen there is no bubble to do that it helped the edges.

Glass Etching an Ornament and Glass Block - Christmas DIY


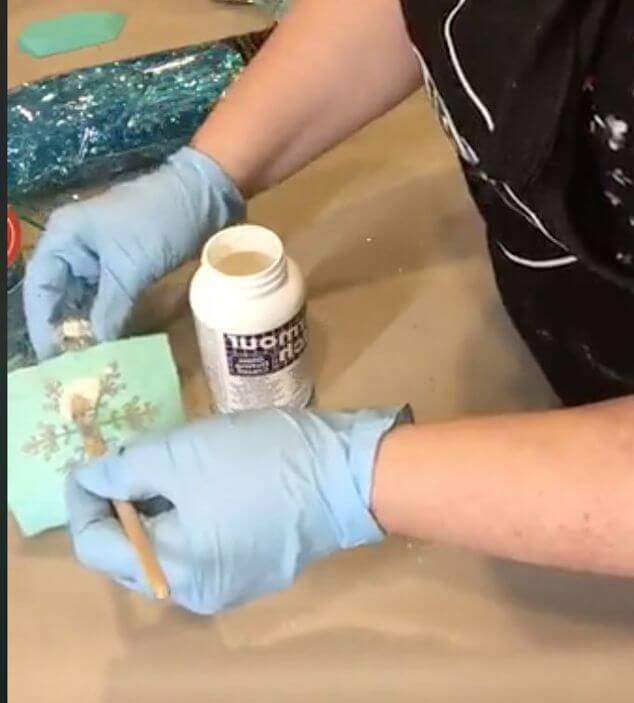
Second step: Wear gloves and then create a thin etching cream layer than wait 5 to 10 mints that will sure you that covering the screen.

Glass Etching an Ornament and Glass Block - Christmas DIY


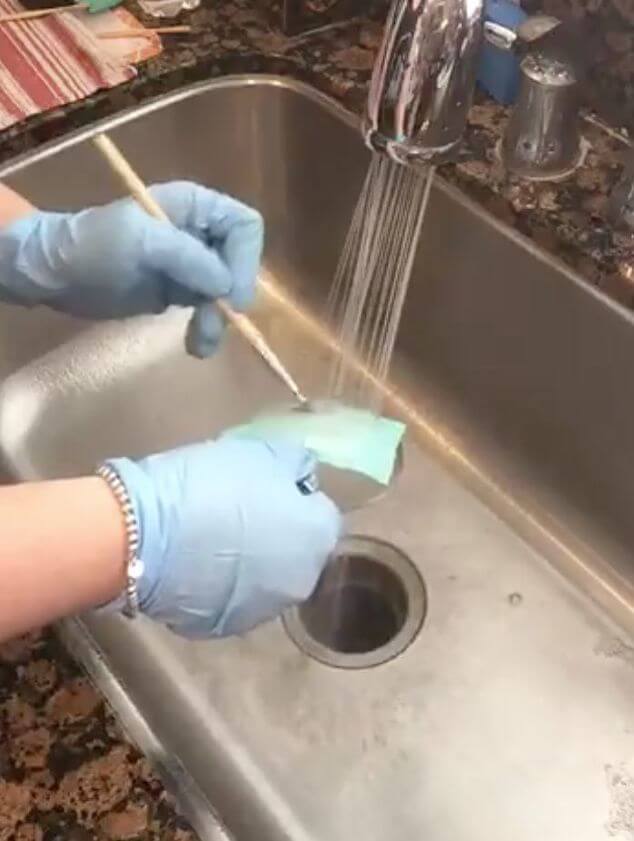
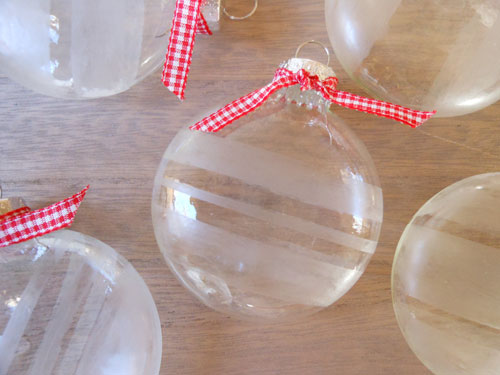
Third step: After cream dries now wash the ornament to clear the etching cream you can wash it everywhere you like in my case I will wash these to sink.after washing the ornament now once again dry the ornament to sure that there is no cream on the ornament.

Glass Etching an Ornament and Glass Block - Christmas DIY


Fourth step: Rub the stuff ornament on filler to all area with your own choice of color but I use Rub’n buff color to sure that’s polished with clean and soft cloth

Glass Etching an Ornament and Glass Block - Christmas DIY

Fifth step: At the top of ornament create a tie bow.

Glass Etching an Ornament and Glass Block - Christmas DIY

That all about ornament we finished our ornament project.

Glass Etching an Ornament and Glass Block - Christmas DIY

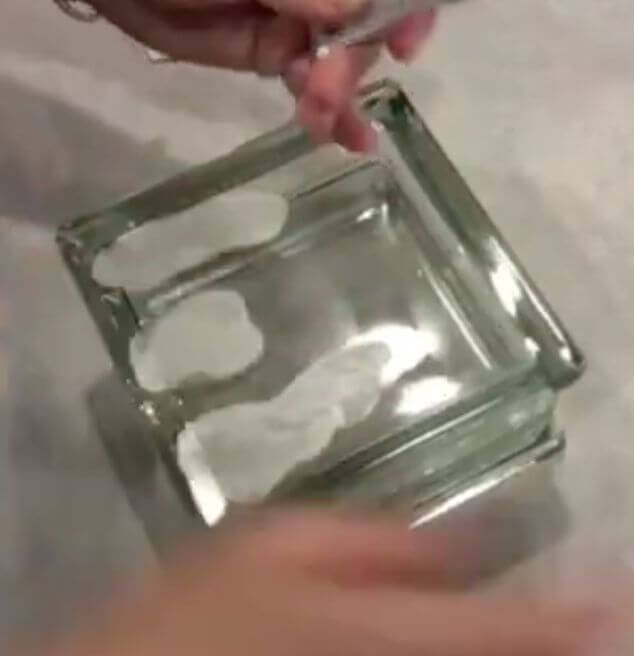
First step: In the outside of the block you can ad the transfers where you want to etch.

Glass Etching an Ornament and Glass Block - Christmas DIY

Second step: First of all wear the gloves before starting the project than create a thin layer with the help of etching cream on the screen transfer to sure that.Then wait for 5 to 10 mints for dry the cream.


Glass Etching an Ornament and Glass Block - Christmas DIY

Third Step: Wash the block to rinse etching cream off with your own wish but for me wash it in a sink.After washing than wait for block dry.

Glass Etching an Ornament and Glass Block - Christmas DIY

Fourth step: Now Rub the block to the Rub’n buff color with your own choice of color at each area of the block you like to color.After coloring the block you polish it and then buff the block.

Glass Etching an Ornament and Glass Block - Christmas DIY

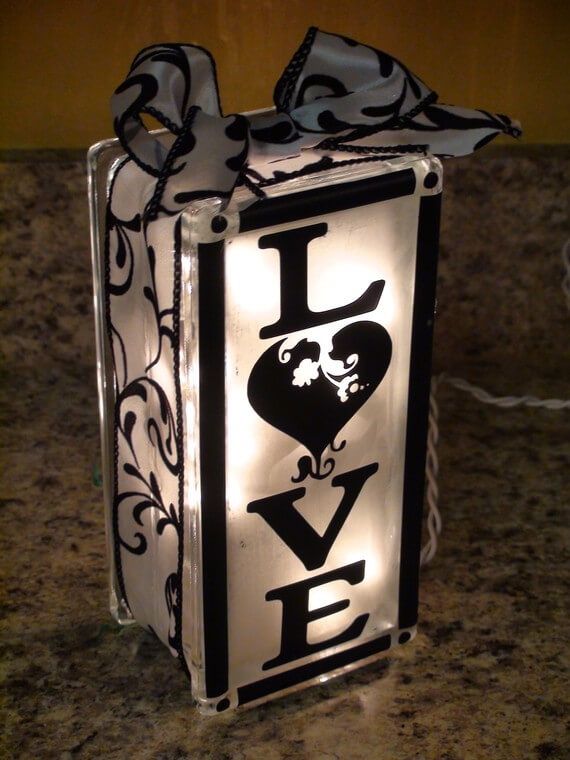
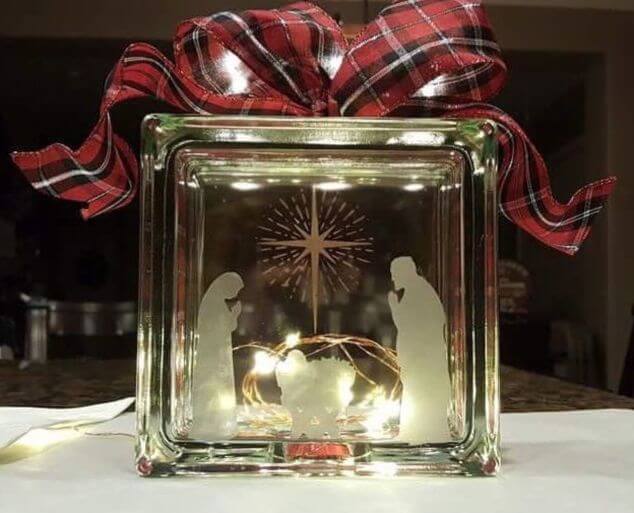
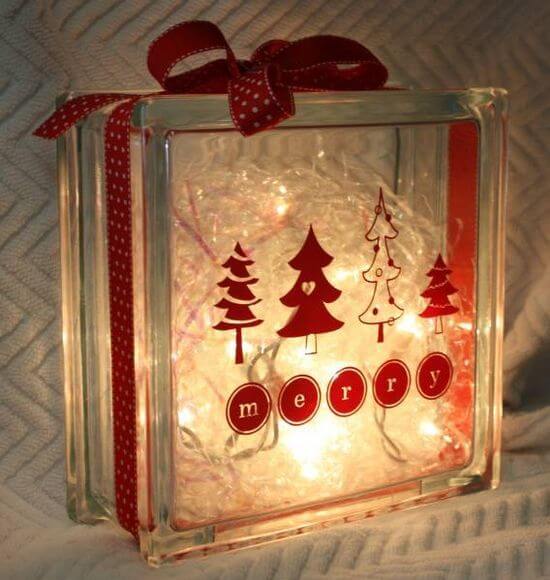
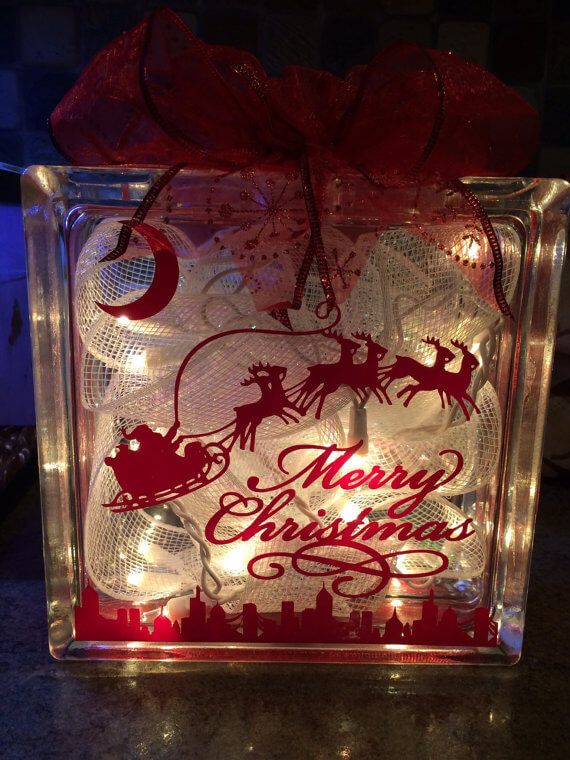
Last step: In this step, you can add the light to the glass block and then add ribbon to the outside of the glass block if that’s your desire.

Glass Etching an Ornament and Glass Block - Christmas DIY

That’s all about block project we finished it.For your better guidance, I was posted the whole project video that helped you a lot for making they both project in easy step.

Thats was some of the best block you like it.

DIY shape Low Voltage LED Romantic lamp.

DIY Felt Holiday Pillows – Christmas DIY

0

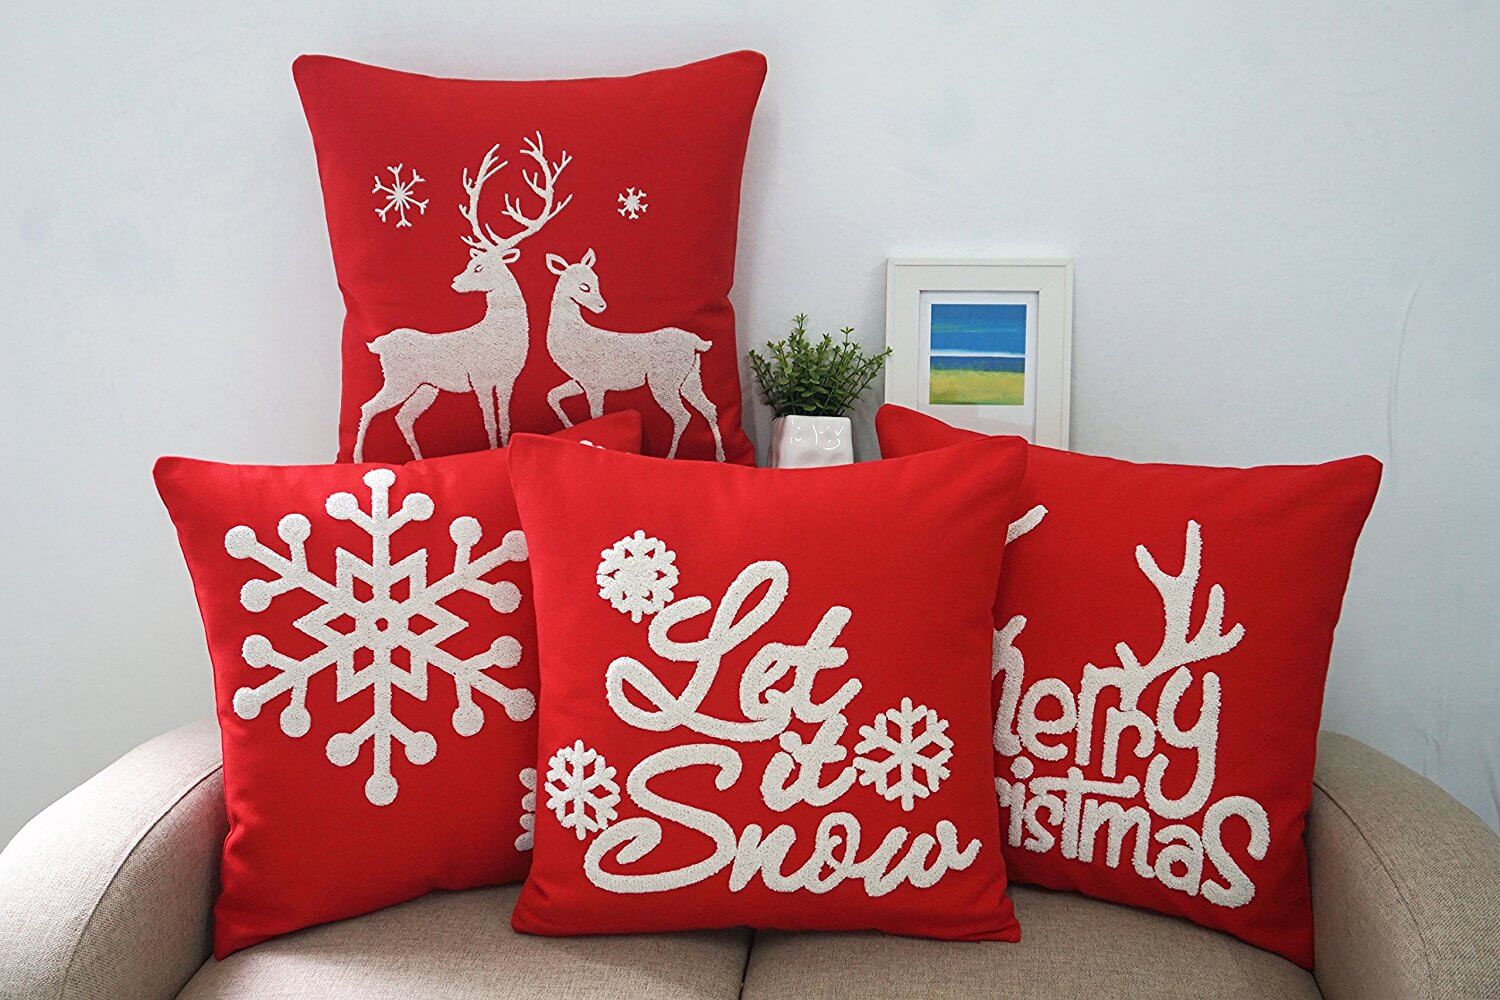
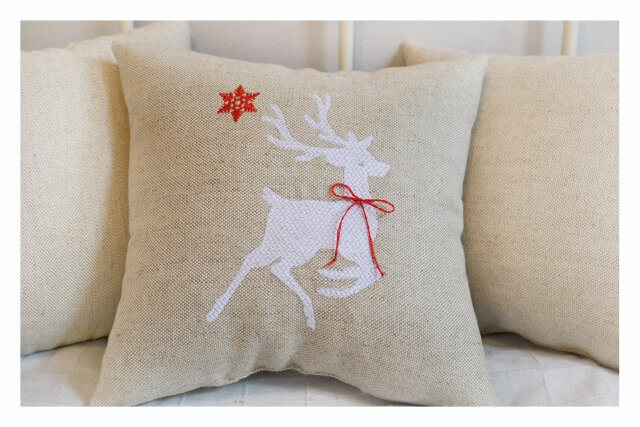
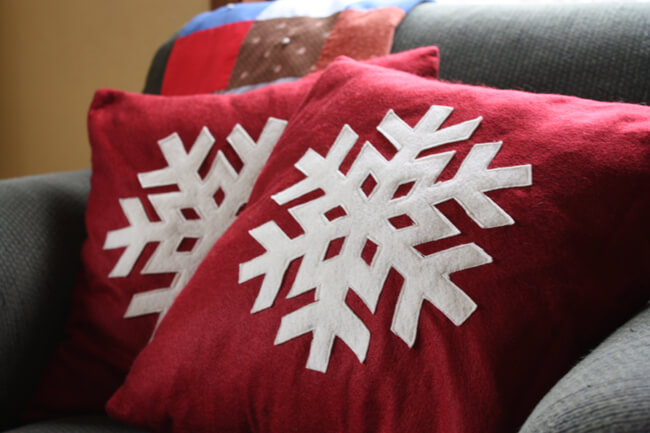
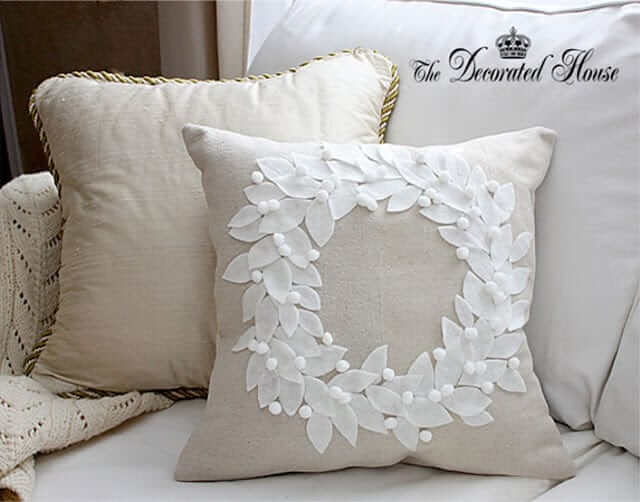
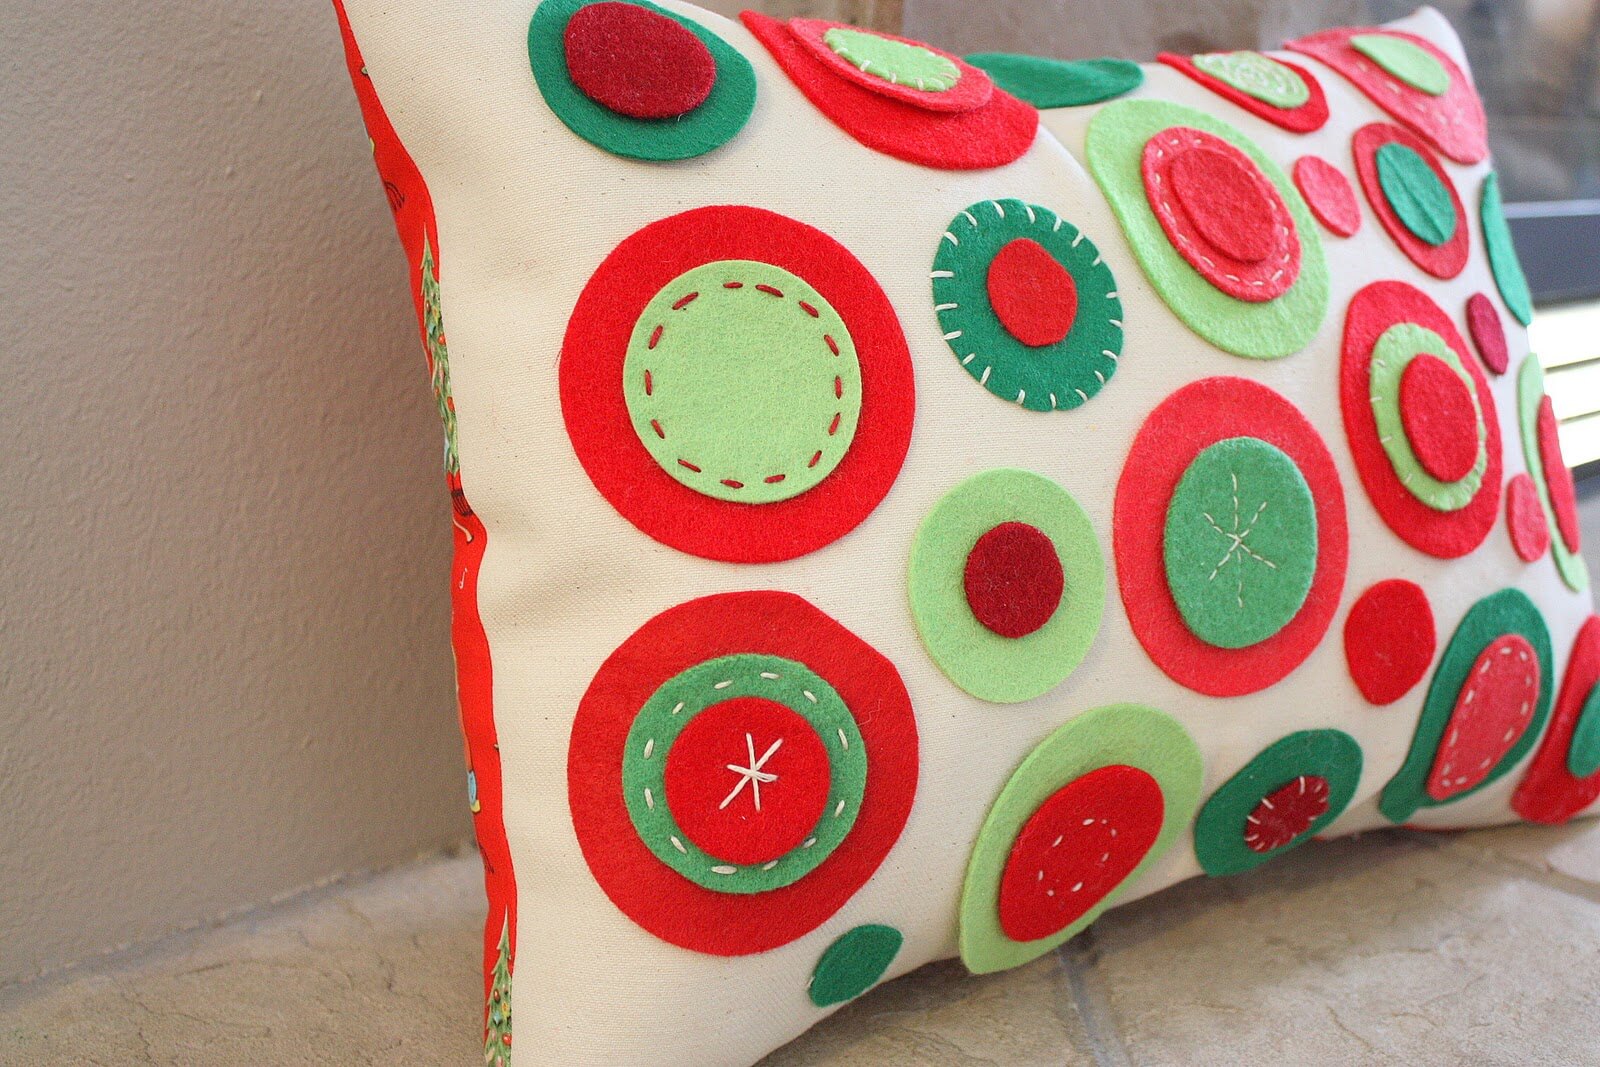
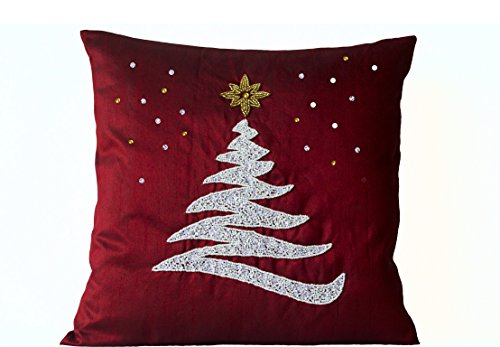
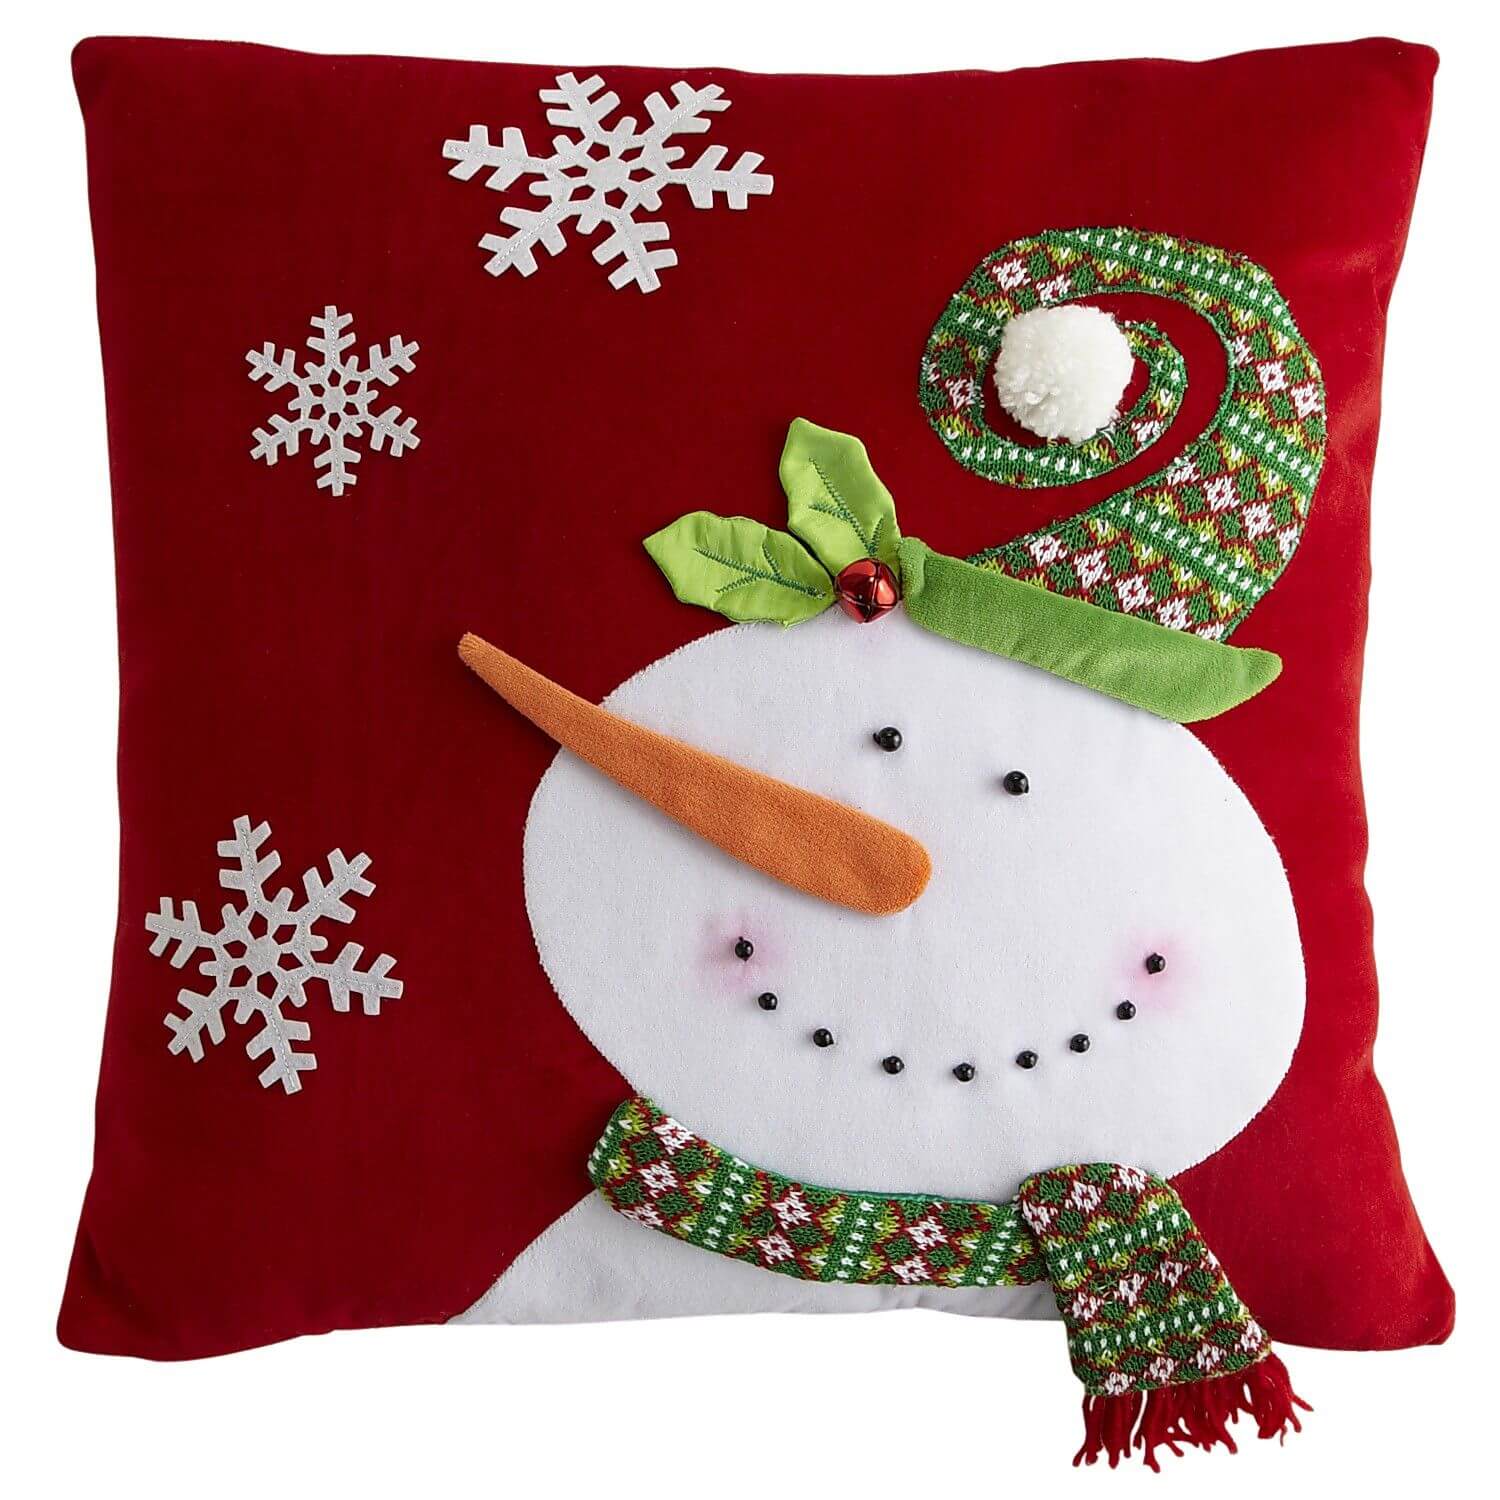
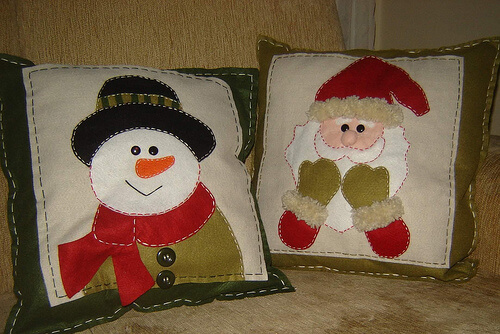
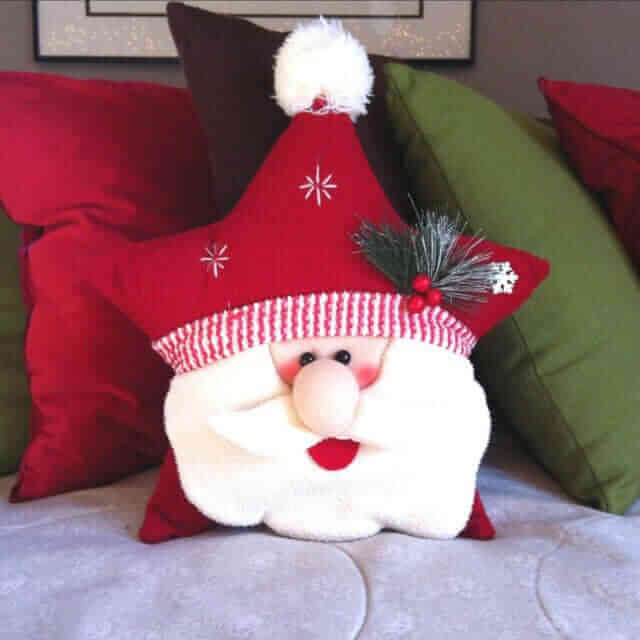
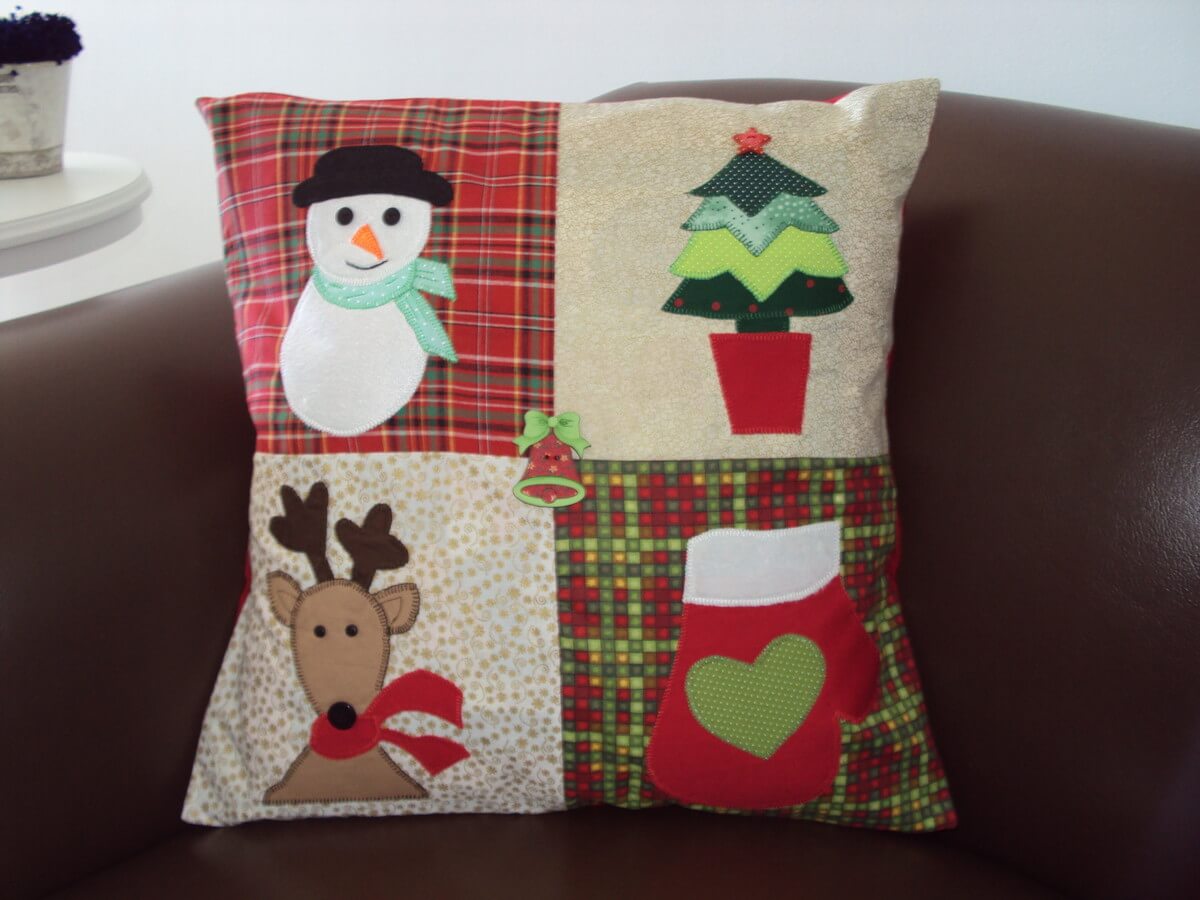
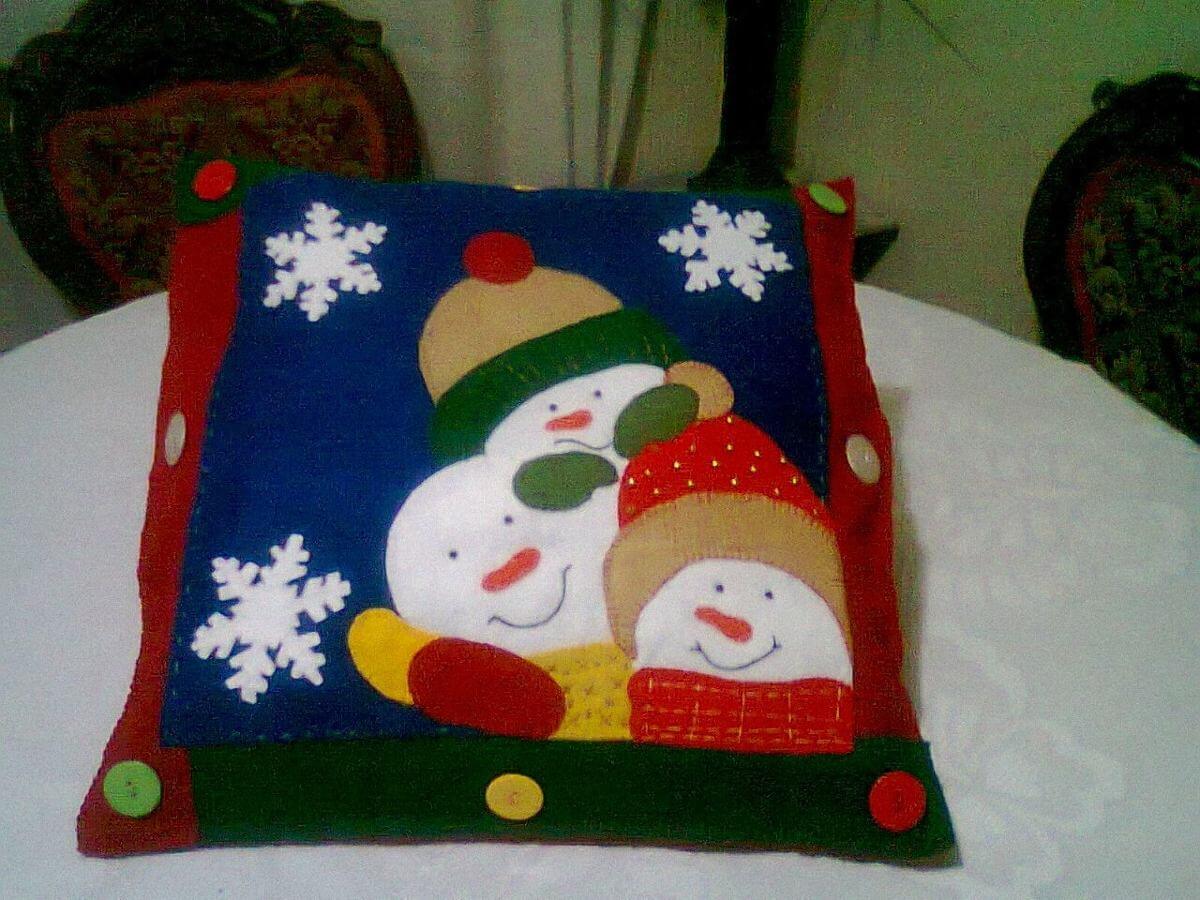
Hello DIY crafter!Today I am so excited to share with you my new amazing DIY Felt Holiday Pillow.That was I will create with the help of circuit maker and circuit easy press this help a lot to create this project very easy.So if you don’t have this then this will also inspire you a lot.Here is some example of the of the felt holiday pillows.

DIY Felt Holiday Pillows - Christmas DIY


DIY Felt Holiday Pillows - Christmas DIY

DIY Felt Holiday Pillows - Christmas DIY

DIY Felt Holiday Pillows - Christmas DIY

DIY Felt Holiday Pillows - Christmas DIY

DIY Felt Holiday Pillows - Christmas DIY


At the end of the article you can also watch the whole project making full video.

DIY Felt Holiday Pillows - Christmas DIY

Materials I used for this project:

  • Cricut Felt
  • Cricut Maker
  • Hot Glue
  • Jute Twine
  • Canvas Pillows
  • Cricut EasyPress
  • Fabric Grip Mat
  • Heat N Bond

DIY Felt Holiday Pillows - Christmas DIY

Fist step: you can cut the bond with your own desired size of the pillow than fuse it 300 degrees with the help of the Easy press.

DIY Felt Holiday Pillows - Christmas DIY

DIY Felt Holiday Pillows - Christmas DIY

DIY Felt Holiday Pillows - Christmas DIY

DIY Felt Holiday Pillows - Christmas DIY

DIY Felt Holiday Pillows - Christmas DIY

DIY Felt Holiday Pillows - Christmas DIY

DIY Felt Holiday Pillows - Christmas DIY

DIY Felt Holiday Pillows - Christmas DIY

DIY Felt Holiday Pillows - Christmas DIY

DIY Felt Holiday Pillows - Christmas DIY

DIY Felt Holiday Pillows - Christmas DIY

DIY Felt Holiday Pillows - Christmas DIY

DIY Felt Holiday Pillows - Christmas DIY


Second step: If you found any excess of you pillow than cut through the scissors.

DIY Felt Holiday Pillows - Christmas DIY

DIY Felt Holiday Pillows - Christmas DIY

DIY Felt Holiday Pillows - Christmas DIY

DIY Felt Holiday Pillows - Christmas DIY

DIY Felt Holiday Pillows - Christmas DIY

DIY Felt Holiday Pillows - Christmas DIY

DIY Felt Holiday Pillows - Christmas DIY

DIY Felt Holiday Pillows - Christmas DIY

DIY Felt Holiday Pillows - Christmas DIY

DIY Felt Holiday Pillows - Christmas DIY

Third Step: Now create any design you want to show in your pillow so open the design space and then select your own wish design or create a new design with your wish with the help of design space.

DIY Felt Holiday Pillows - Christmas DIY

DIY Felt Holiday Pillows - Christmas DIY

DIY Felt Holiday Pillows - Christmas DIY

DIY Felt Holiday Pillows - Christmas DIY

DIY Felt Holiday Pillows - Christmas DIY

DIY Felt Holiday Pillows - Christmas DIY

DIY Felt Holiday Pillows - Christmas DIY

DIY Felt Holiday Pillows - Christmas DIY

DIY Felt Holiday Pillows - Christmas DIY

DIY Felt Holiday Pillows - Christmas DIY

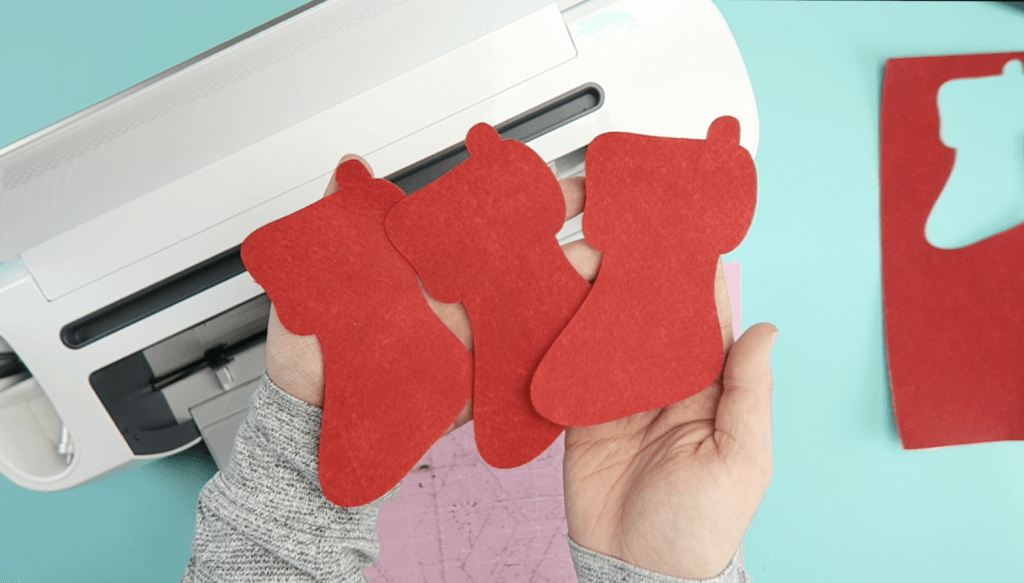
Fourth step: Select the material list in the material list you choose acrylic felt you can cut the rotary blade.

DIY Felt Holiday Pillows - Christmas DIY

DIY Felt Holiday Pillows - Christmas DIY

DIY Felt Holiday Pillows - Christmas DIY

DIY Felt Holiday Pillows - Christmas DIY

DIY Felt Holiday Pillows - Christmas DIY

DIY Felt Holiday Pillows - Christmas DIY

DIY Felt Holiday Pillows - Christmas DIY

DIY Felt Holiday Pillows - Christmas DIY

DIY Felt Holiday Pillows - Christmas DIY

DIY Felt Holiday Pillows - Christmas DIY

DIY Felt Holiday Pillows - Christmas DIY

Fifth step: Now put your canvas on the pillow and heat up until the canvas set to the pillow.

DIY Felt Holiday Pillows - Christmas DIY

Sixth step: Its time to use the circuit easy press to a bond of felt outs at the 300 degrees to pillow.

DIY Felt Holiday Pillows - Christmas DIY

DIY Felt Holiday Pillows - Christmas DIY

DIY Felt Holiday Pillows - Christmas DIY

DIY Felt Holiday Pillows - Christmas DIY

DIY Felt Holiday Pillows - Christmas DIY

DIY Felt Holiday Pillows - Christmas DIY

DIY Felt Holiday Pillows - Christmas DIY

DIY Felt Holiday Pillows - Christmas DIY

DIY Felt Holiday Pillows - Christmas DIY

DIY Felt Holiday Pillows - Christmas DIY

DIY Felt Holiday Pillows - Christmas DIY

DIY Felt Holiday Pillows - Christmas DIY

DIY Felt Holiday Pillows - Christmas DIY

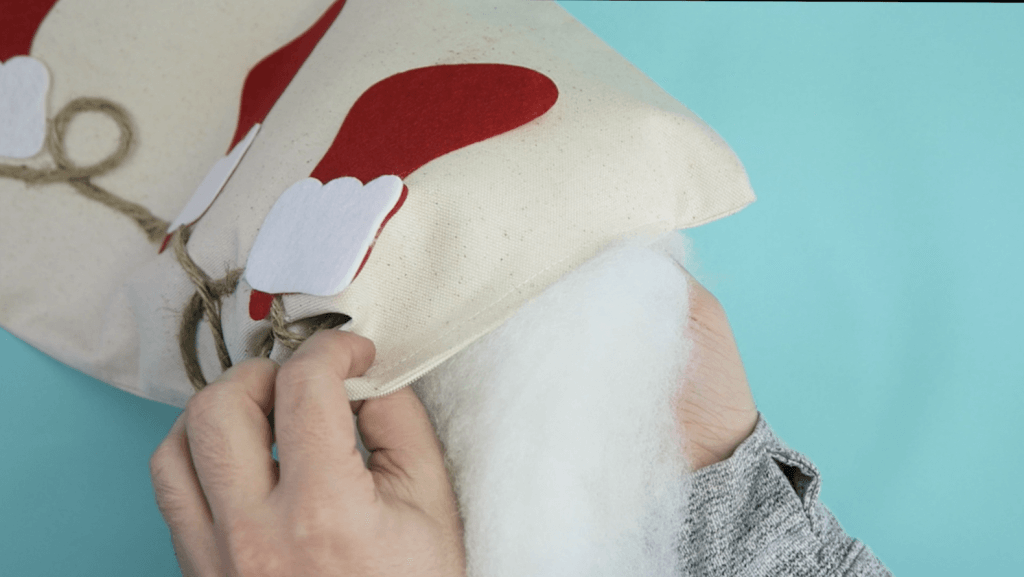
In the last step, you can also put the stuff into your pillow and zip it or not that is your choice.

DIY Felt Holiday Pillows - Christmas DIY

DIY Felt Holiday Pillows - Christmas DIY

DIY Felt Holiday Pillows - Christmas DIY

DIY Felt Holiday Pillows - Christmas DIY

DIY Felt Holiday Pillows - Christmas DIY

DIY Felt Holiday Pillows - Christmas DIY

DIY Felt Holiday Pillows - Christmas DIY

So, everyone, I hope you like it and this holiday pillow with get more attraction of your guest during the session of a holiday.

For your better guidance, I will also post the whole project video which is given below that will help a lot for make amazing holiday pillow.